ok. I figured you guys would want to see this even though the new arf trooper kind of makes this process obsolete...
basically you will need a clone trooper to start with, and a 25th aniversary cobra commander. The Cobra Commander fig is the perfect body type to slice onto the animated clones. Of course any gi-joe 25th aniversary figure which has the torso joint in the gut instead of the chest will probably work.
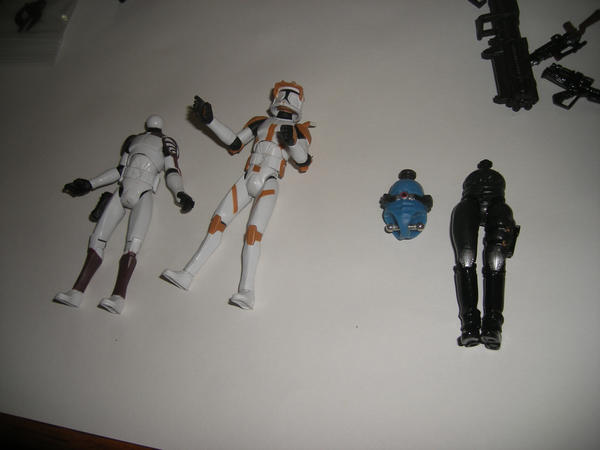
In the above image I've already removed the upper portion of cobra commander. To do this you need to pop the chest apart. I find this is easiest to do if you microwave the figure first to loosen the glue. Then take an exacto knife and gently wedge it into the seams beneath the arm pits. Work your way up untill you can get a small flathead screwdriver into the cavity and with a little prying it will pop right apart. Be careful when you are prying as they tend to all of a sudden give way and send parts flying all over the room....
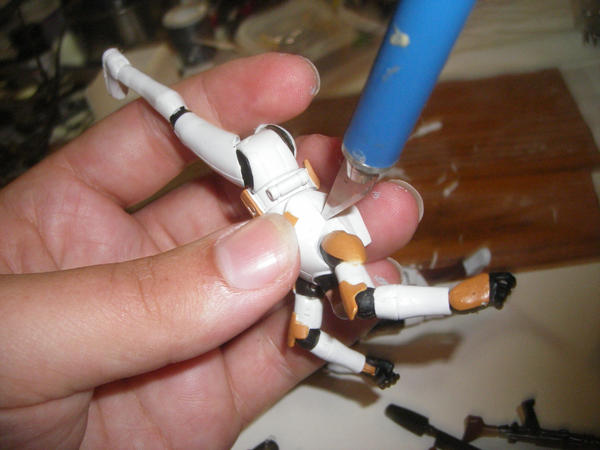
I am repeating the same cutting process with the animated clone. HOWEVER, and I was surprised at this the first time I did this, the animated clone trooper's chests are made completely of the soft rubber and are not hollow. You will need to carefully cut with a sharp exacto knife up through the torso untill you hit the pegs for the arms. Be careful not to damage the pegs for the arms! do this on both sides, be careful to follow the line on the figure so that you keep things even.
this is what it should look like when your done and have removed the lower half:
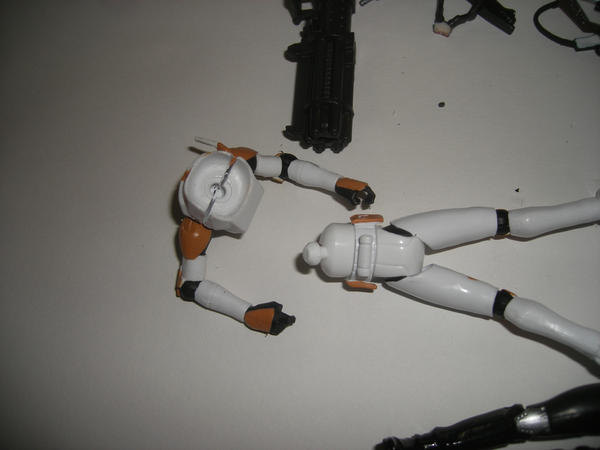
once you have removed the clone trooper's lower half set it aside and test fit the new body parts into the animated figure's chest. the peg hole in the chest may need to be widened so that the new CC body parts can fit snugly in and still twist. This can be done with a dremel, just be realy careful.
If you have a RESOLUTE 5 pack cobra commander (which is the figure used in this tutorial) widening the peg hole is not necessary. It actually fits pefectly.
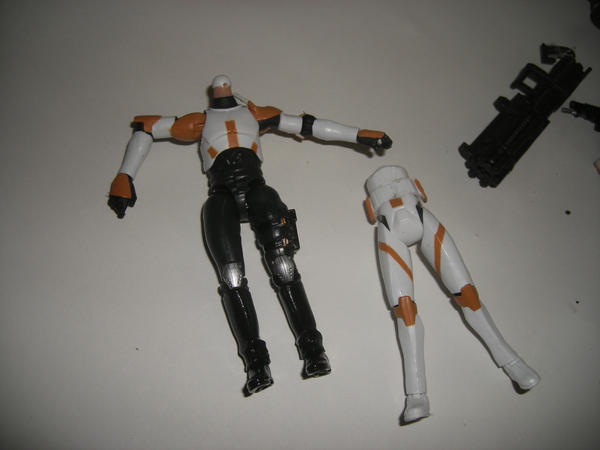
I usually do not glue the torso back together untill I know for sure it's the way I want it... I made the mistake of doing that too soon on this figure and wound up glueing the arm's peg's into their sockets... if you do glue the torso back together go easy on the glue so that it doesn't seep into any of the sockets which need to remain loose to allow movement.
Next we need to replace the lower legs of the cobra commander body with the original clone's (unless you like the joe legs that is...)
first you need to remove the lower joe legs by removing the plastic pin out of the bottom hole of the double jointed knee.
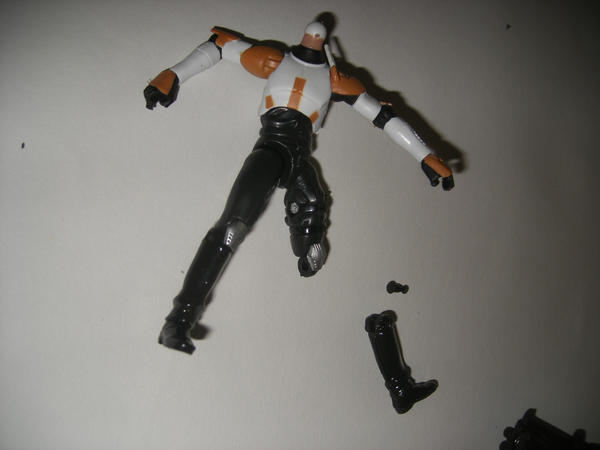
do this for both legs
then remove the lower legs from the clone trooper. I have found that it is easier to remove a pegged joint if you cut a small slit up the side of the socket, this allows the peg to slip right out... Of course if your going to use the part again for something else you don't want to destroy it in this manner, as I'm just tossing it aside I don't care.
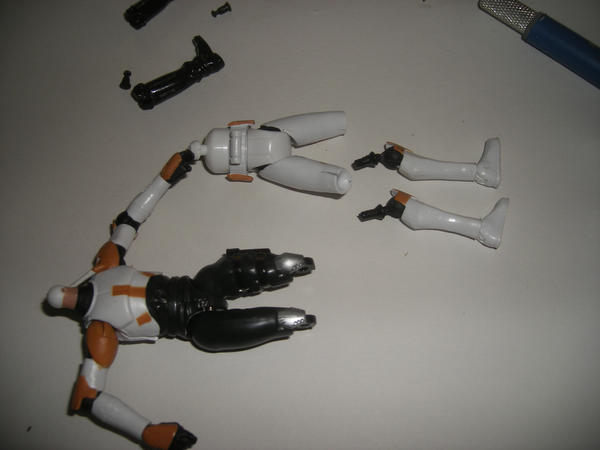
next you need to cut out the star wars swivel/peg joint to make room for the new double knee joe joint.
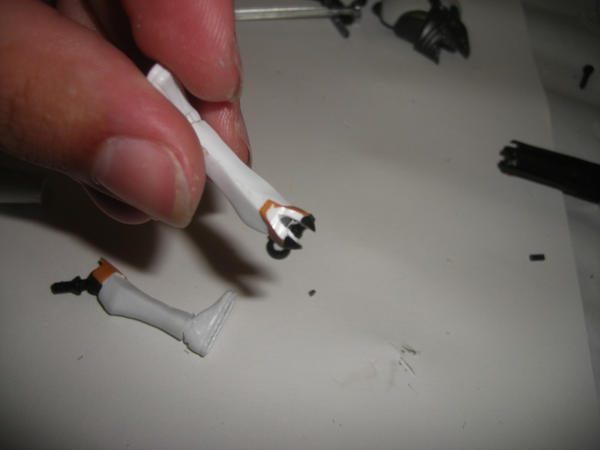
do this by cutting down on both sides of the swivel joint and then pulling it out. You will also need to remove the "knee pad" from the front of the star wars clone's leg. Carfully shave away small layers of the front of the knee untill it looks like the above picture.
test fit the bottom half of the double jointed knee into the modified slot on the star wars figure calf. if it fits good and snugly then hold it in place and slowly drill through the side of the knee makeing sure that the drill bit goes through both sides evenly. I find that holding it in place with the new knee joint and using it as a guide helps. Also using a hand drill instead of a dremel for this you can control the speed at which you cut through the figure. I usually hold the figure with one hand with my fingers tightly around the knee so that I can feel the drill bit and where it will exit on the other side. Mind you I'm turning the bit very slowly so that when it does puncture through it doesn't cut my finger!
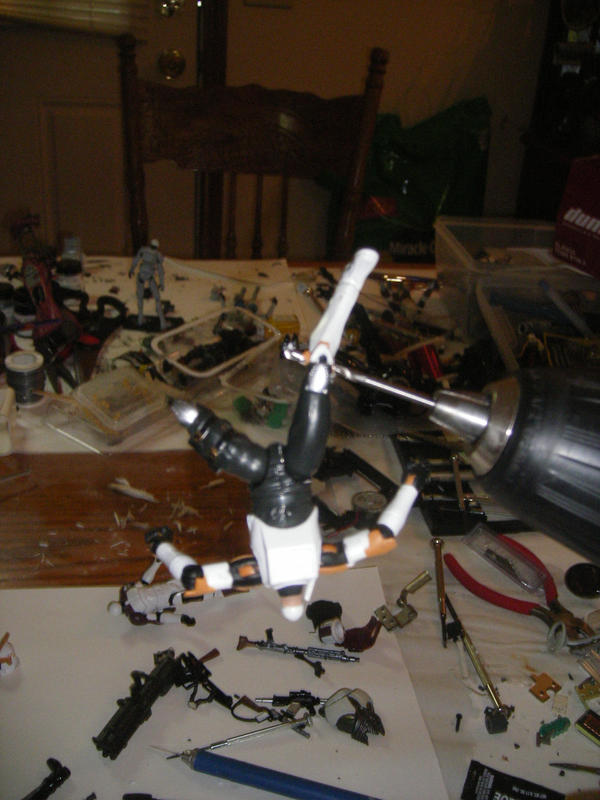
Remove the drill bit and you have a clean peg hole that will run through both sides of the leg and line up with the new double jointed knee. You will need a plastic rod/peg that is the same width as the knee and slightly maleable to insert into the hole you just drilled. I have used the framing which holds together plastic model peices before but have just recently discovered something even better. The missiles that come with the new star wars figures are EXACTLY the right diameter and are soft and pliable enough to make a snug fit.
insert the end of the missile through the drilled hole and cut to fit.
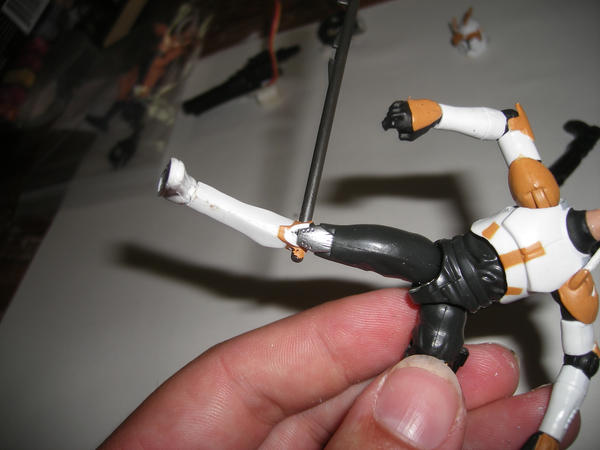
then use a pair of pliers to "crimp" the peg. This will mushroom the ends of it so that it doesn't slip out of the hole. For this reason you might want to cut the rod just slightly longer than you think you need to.
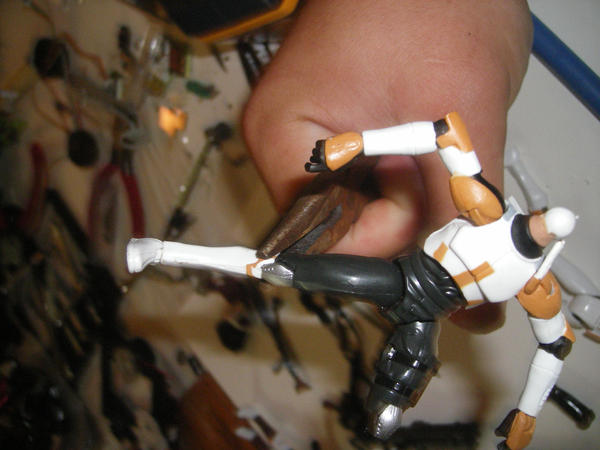
Once you've done all these steps for both legs and have the chest glued back tightly so that it doesn't fall apart your all set.
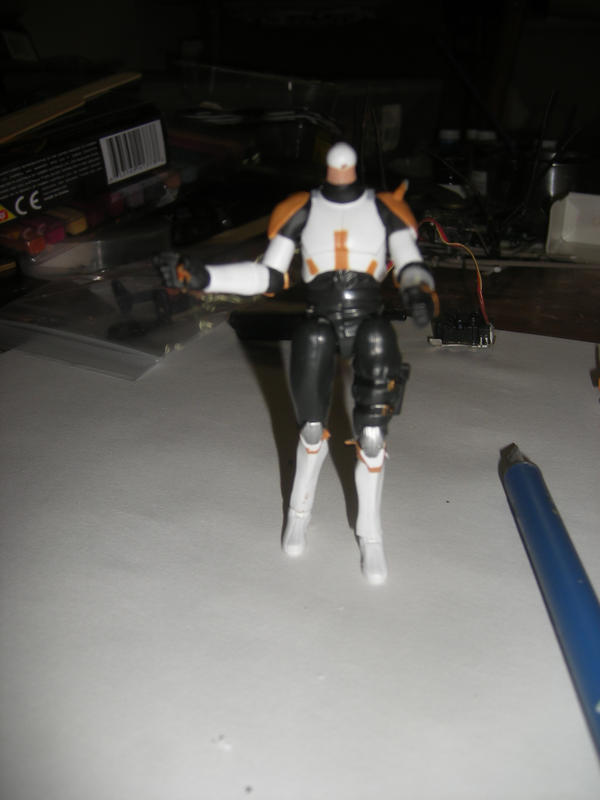
I've used parts of the original clone's belt as a "garter" style belt before as it is too small to fit around the waist, but a legacy clone's belt shaved down on the inside will fit nicely over it. Here I've used a concept boba fett belt and holster:
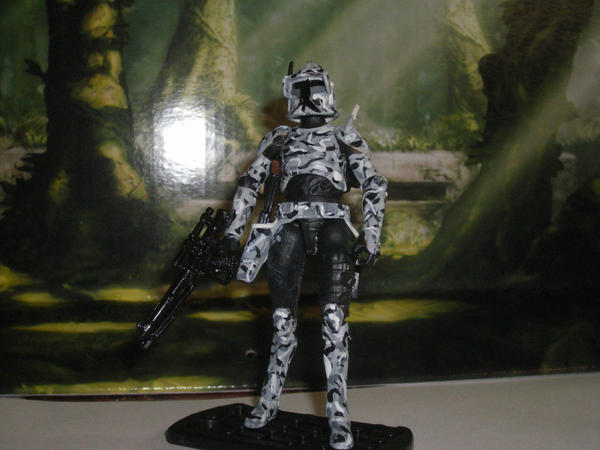
almost don't reconize him all painted up do ya!? lol
tell me if this was helpful and definately let me know if you're going to try this!!!