Recently completed my Bandai Falcon, I applied various painting and weathering techniques learned from reading other's build logs and watching hours of YouTube video's.
Parts used:
Base kit, Bandai 1/144 Millennium Falcon TFA model kit
308 Bits Shapeways parts:
Turret Well Windows set
Engine Exhaust Vents set
Cabin Cone (5 footer)
Laser Yoke and Laser Cannon set
Docking Rings set (5 footer)
(Optional) Radar Mount Base and Round Radar set (5 footer)
Electrics:
Tirydium Models TFA Millennium Falcon Lighting Kit SW-09
Kitbashed addons:
Electric Guitar D string for Landing Gear hoses
Extra fiber for Headlights and Caution lights
Parts excluded from the base kit:
Boarding Ramp D2-24,D2-25 and D2-26 parts
Turret Well Windows A15 and Cabin A14 clear parts
Engine Exhaust Vents F3 and F4 parts
Cockpit Cabin E1-24 and E1-2 parts
Landing Gear Covers A12, A13, A17, A19, A20 parts
Laser Canons F6 and F13 parts
Docking Rings F2, F5, E1-4 and E2-44 parts
Decals used:
Only applied the logo decals from the Bandai sheet and the red decal that goes on the front of the Cockpit Tube.
Everything including the panels and markings were painted with Archive-X enamels, weathered with mig oils Starship Filth, and Black (lightened), no panel or pin washes.
Warning this is the complete build so there will be many photo's following...
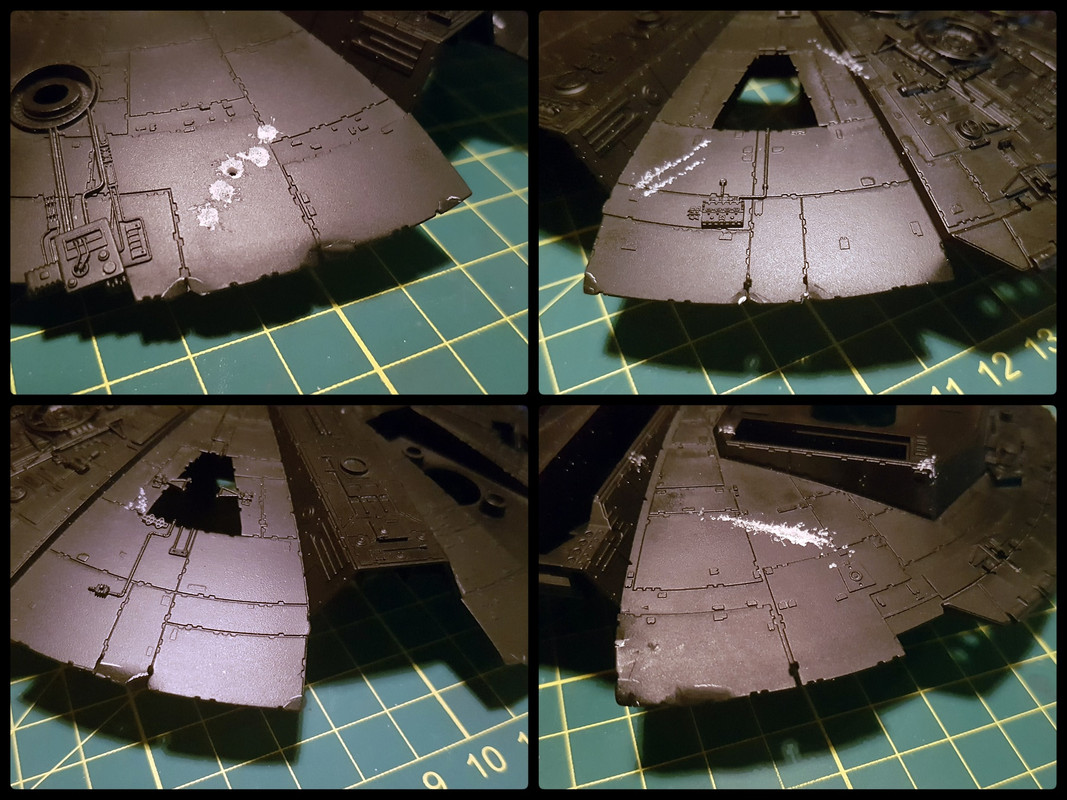
I primed everything with a flat black acrylic before hand and proceeded to add the damage using a dremel and a heat gun to bend some areas of the panelling.
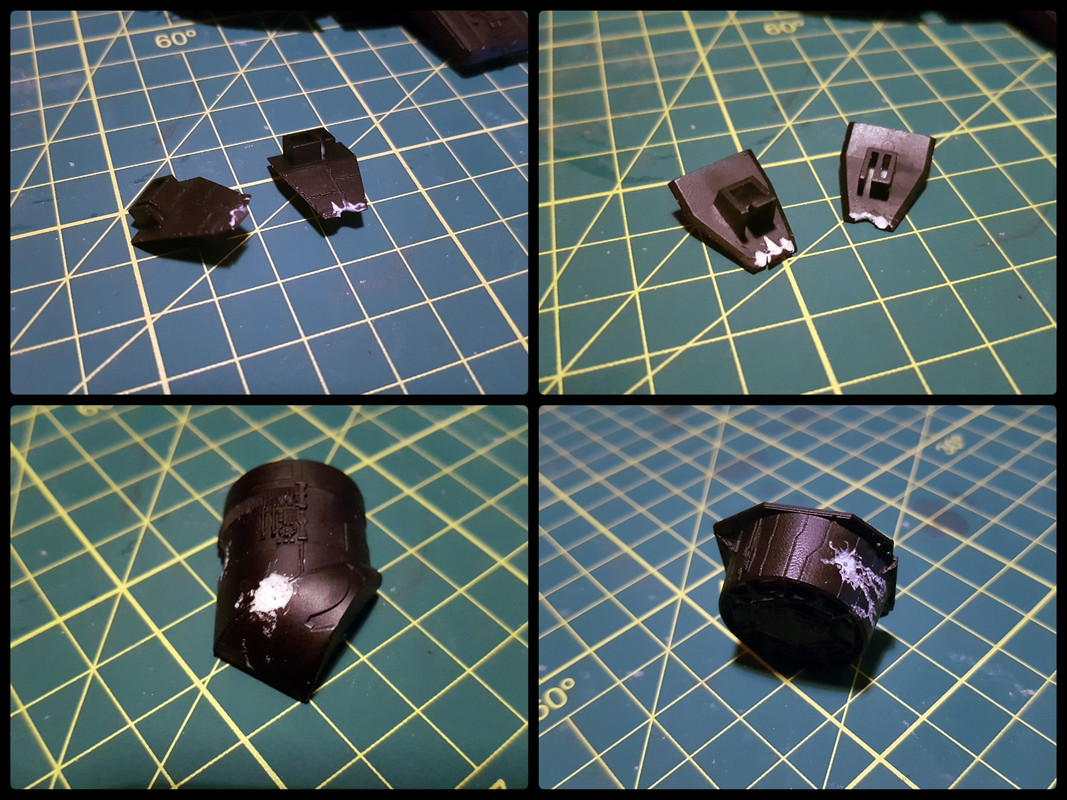
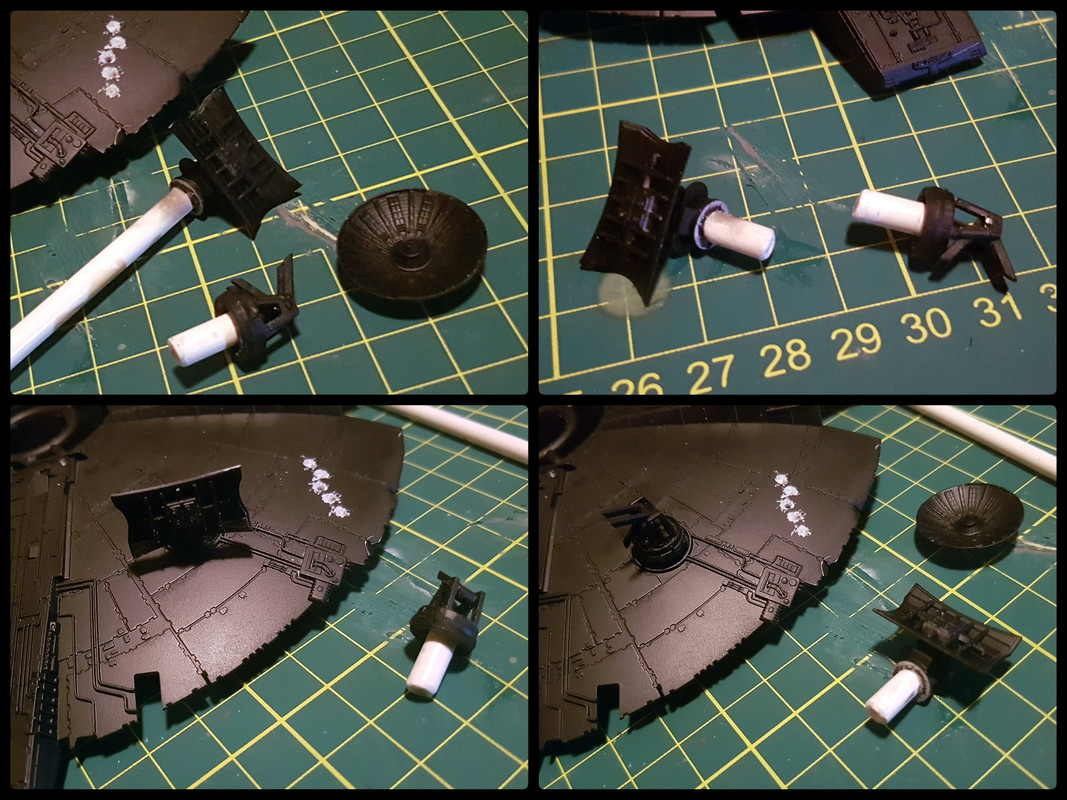
I removed the original mounts for the dish replacing them with styrene tube so I could have the option to swap them out on display.
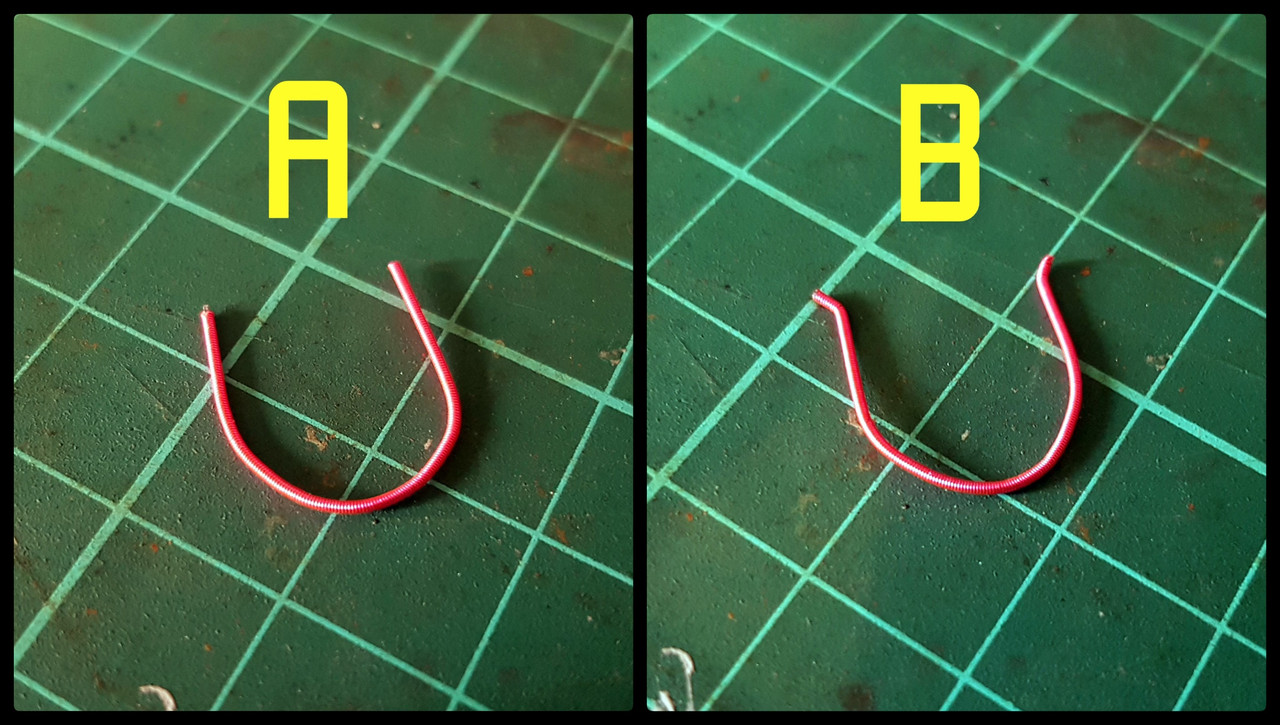
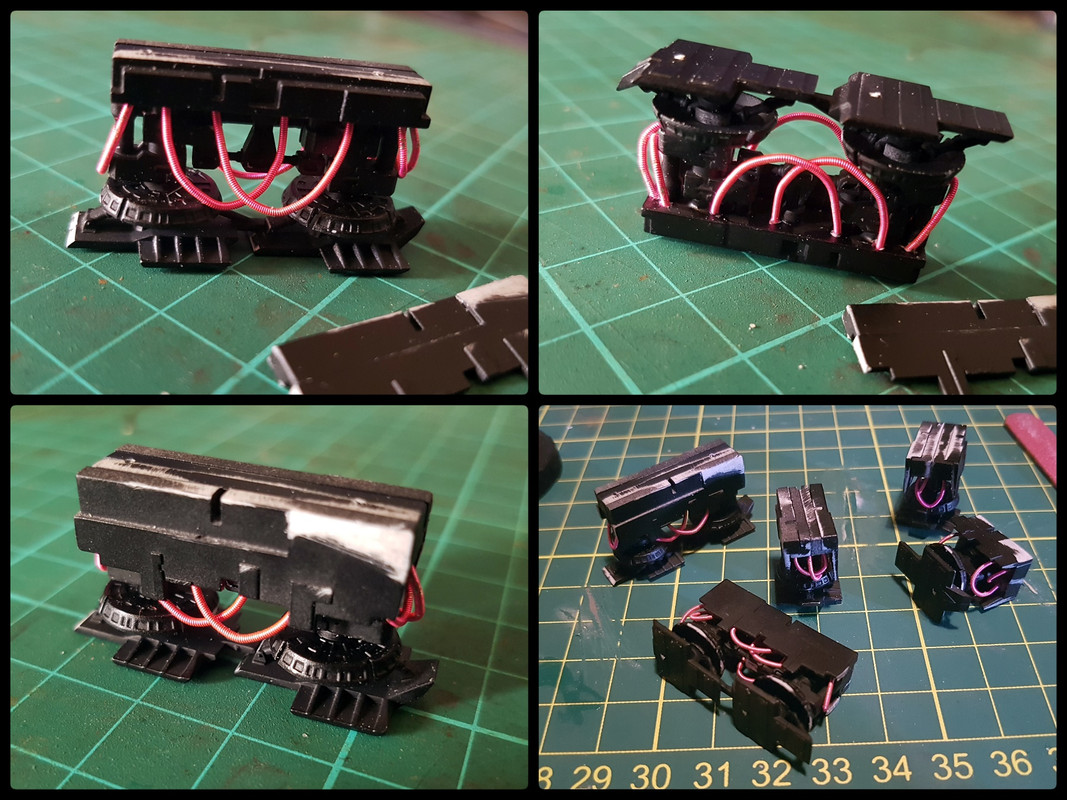
I used a spare guitar string to kitbash some of the hydraulic hoses on the landing gear, I bent the ends of the string to help anchor them into the holes then glued them in place.
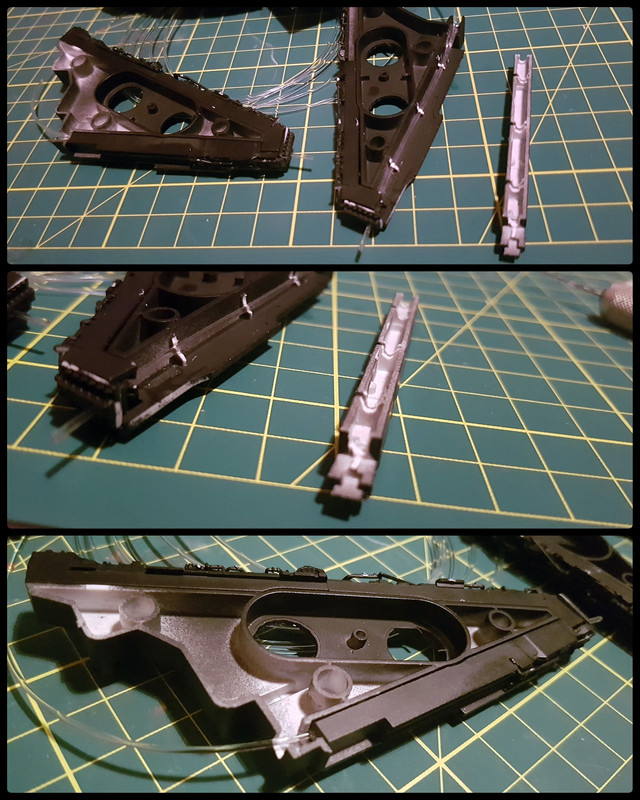
Used my hobby knife to cut away a channel in the tabs to route the fiber strand for my mandible headlights.
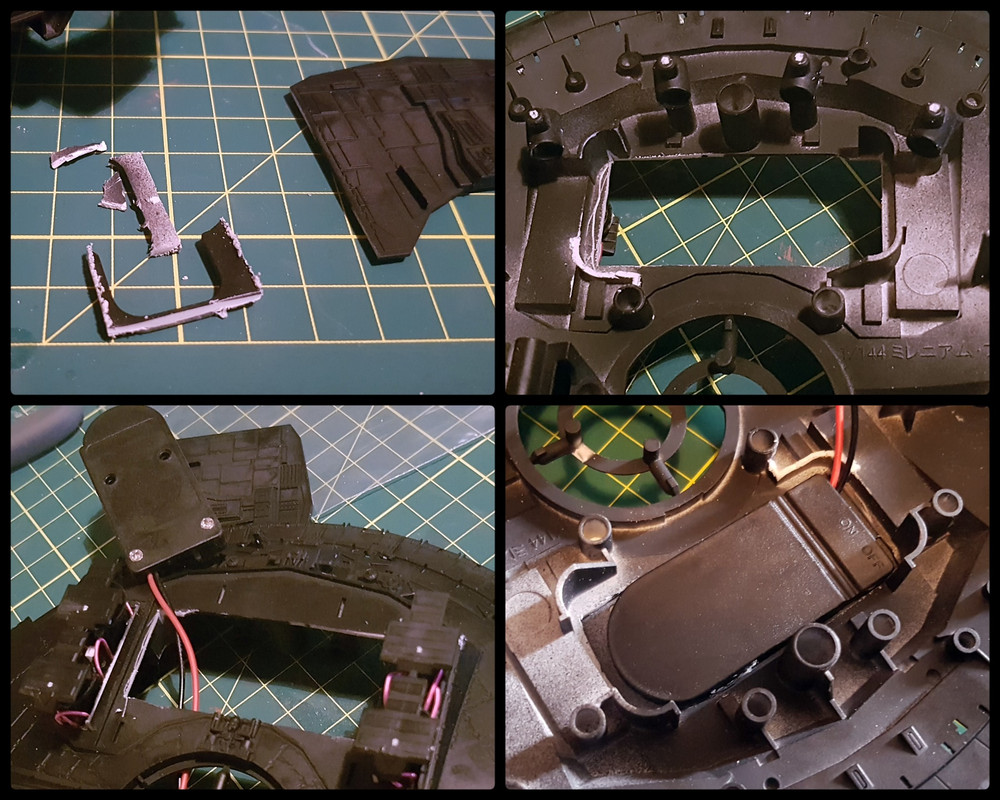
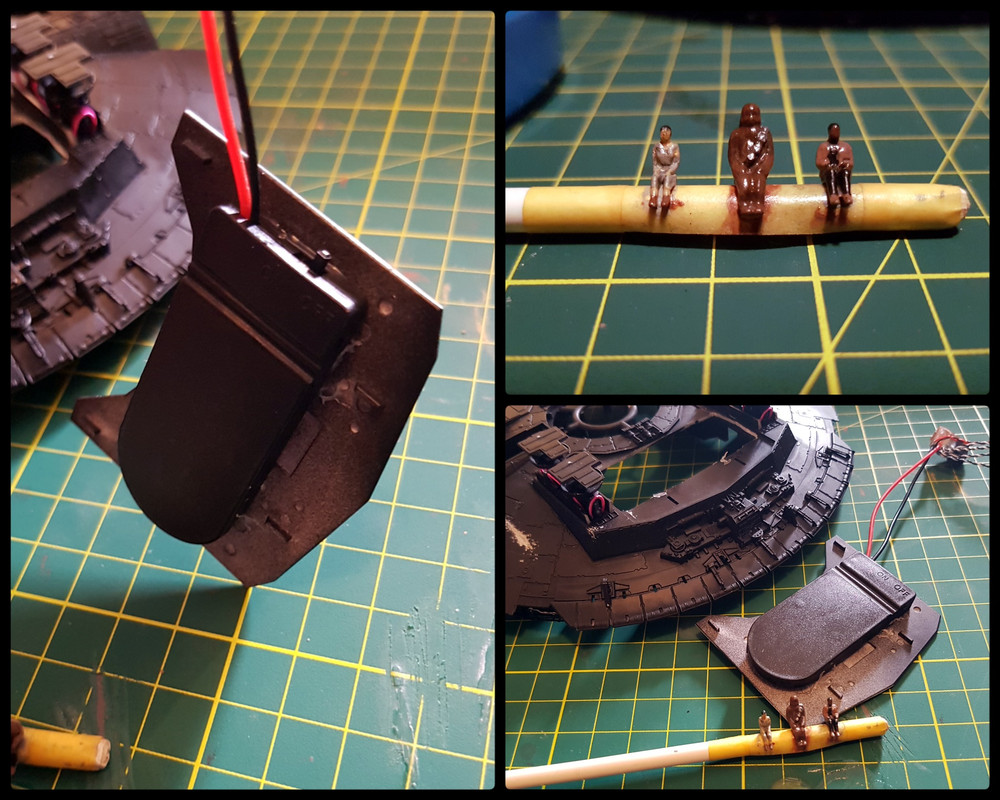
I widened the opening for the battery compartment so I could mount the battery holder to the cargo lift cover.
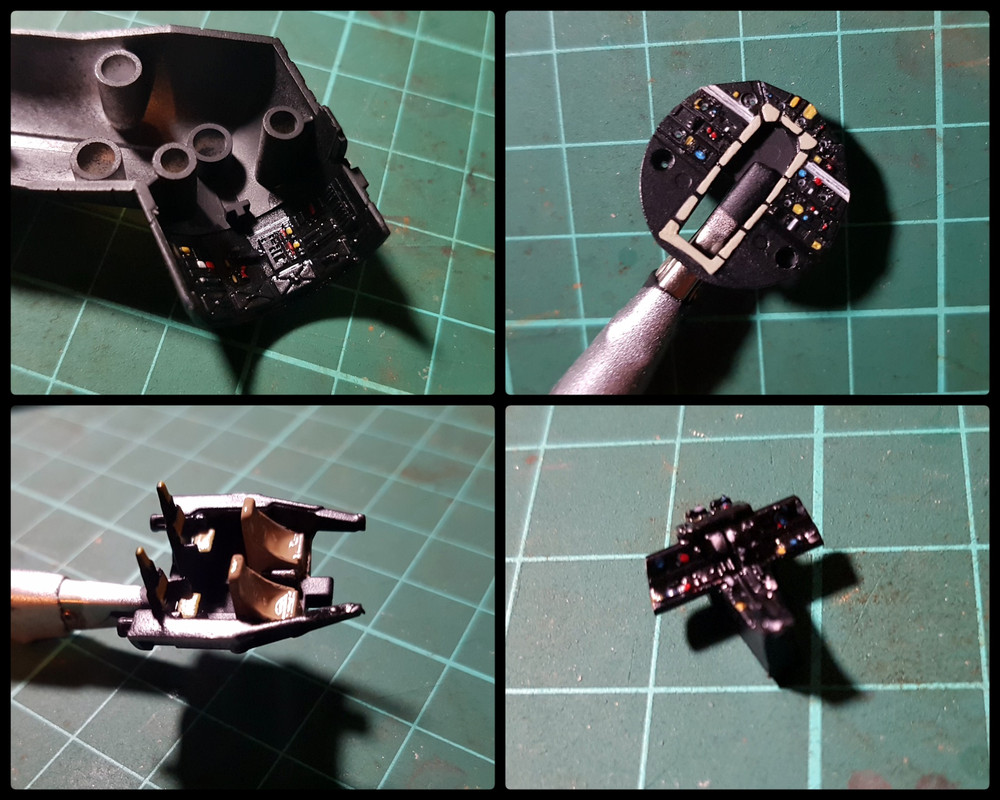
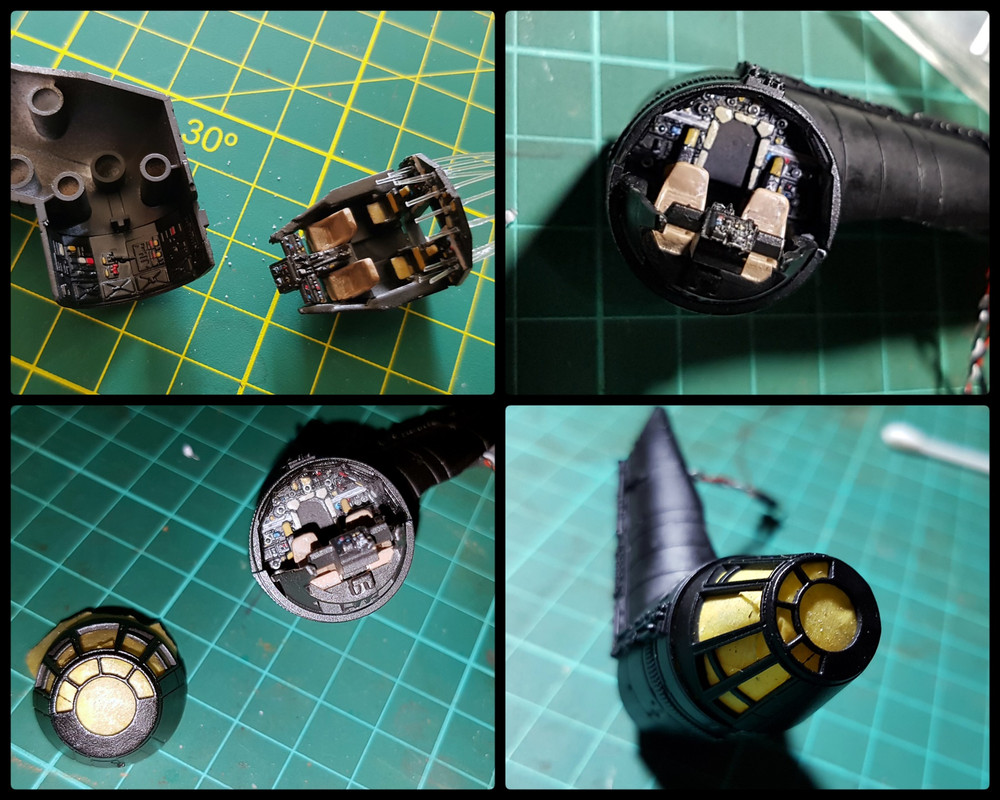
Started painting the tiny details in the cockpit as well as the figures then masked off the nose cone ready for a base coat.
Installed the fibers in the back-wall and mushroomed the ends to prevent them from popping out, I then tacky glued them into place.
My plan for the battery holder worked just fine after applying some tacky glue which I also applied around the wire connections themselves for added strength.
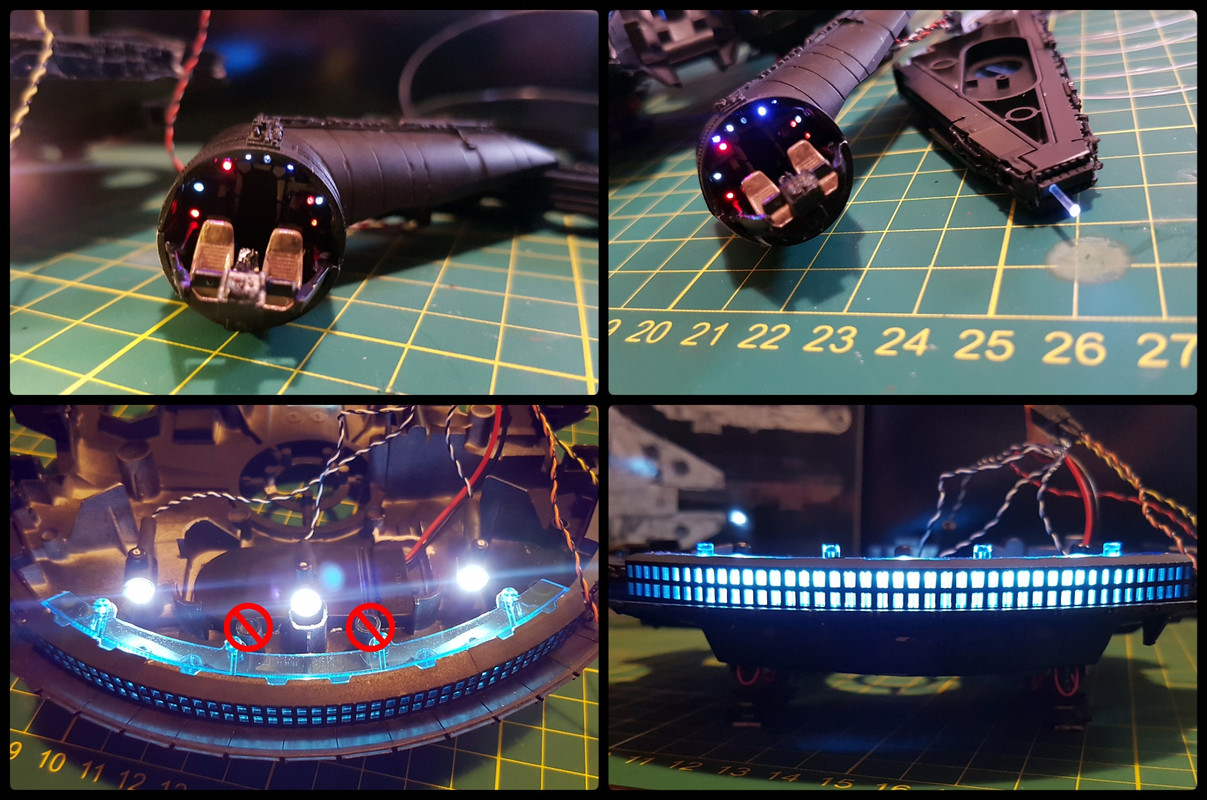
Lighting test... I used only three of the four engine leds , the fourth will light the Mandible headlights and the red caution lights, I also opted not to use the original mounting and instead trimmed away the middle support pillar to use as the mount for the middle engine led.
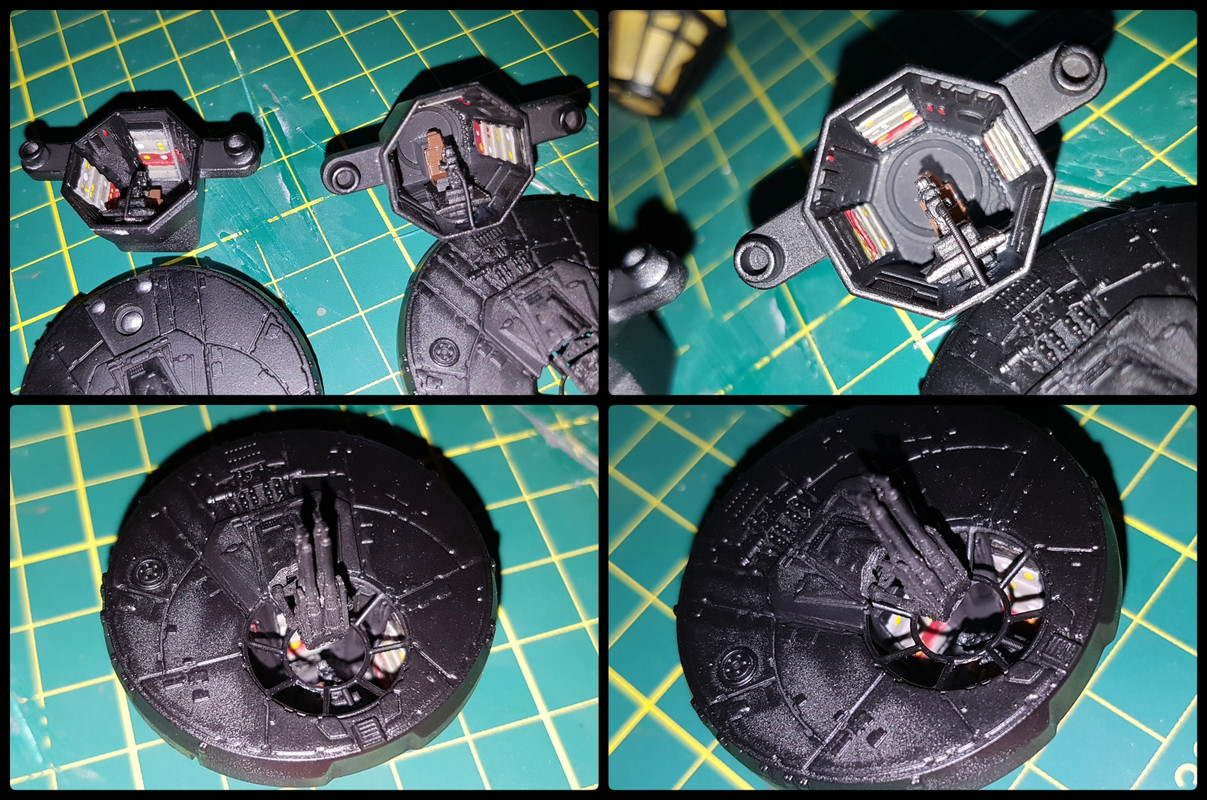
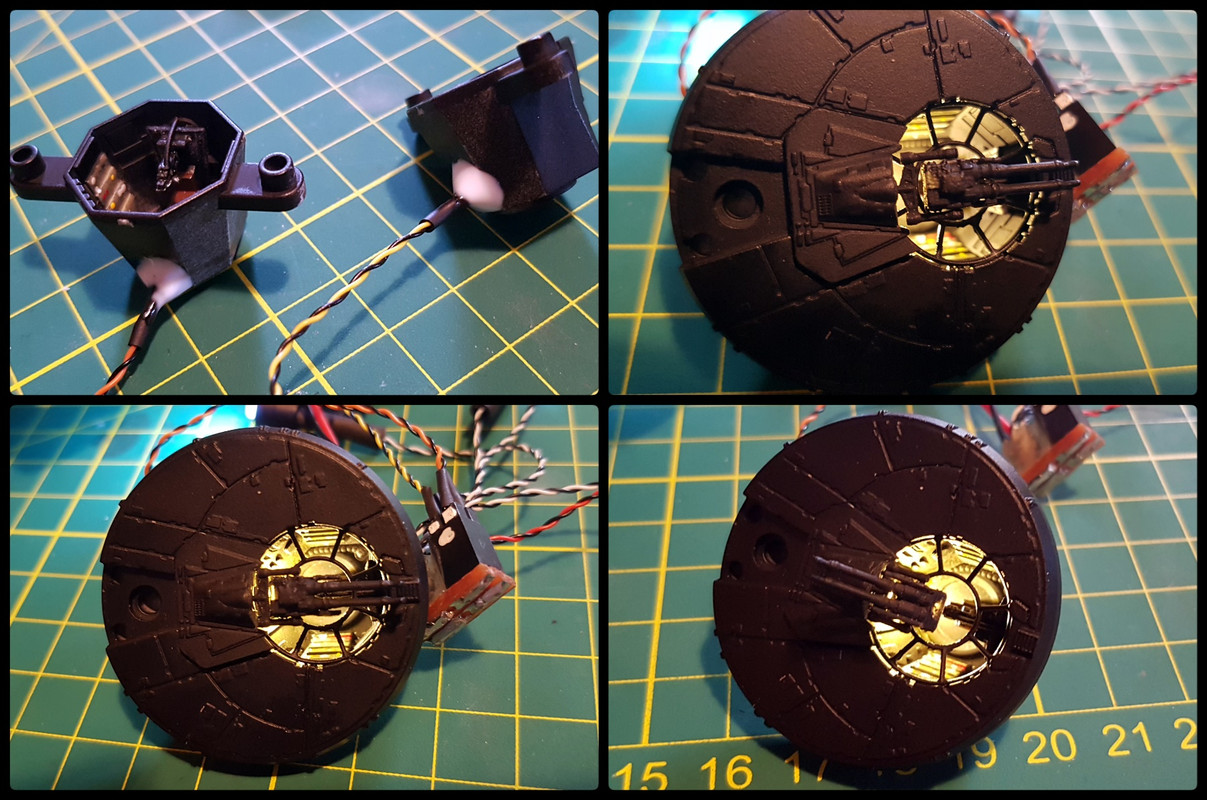
Painted the details in the Gun-wells, drilled the mounting holes for the nano lights which are held in place with more tacky glue... after taking a look at my reference photo's I noticed the kit Gun-well controls didn't have the hose on the front console's so I kitbashed some using more guitar string.
Another lighting test before moving on to the next step.
I airbrushed a light layer of Archive-X reefer white base coat and continued to masked off the panels that needed to be painted.

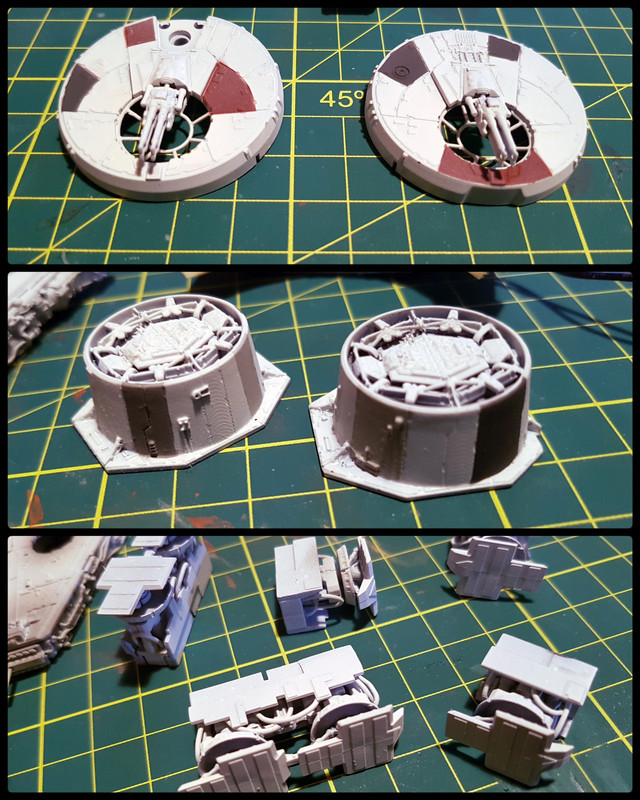
More painting...
Preshaded the Mandibles and other areas.
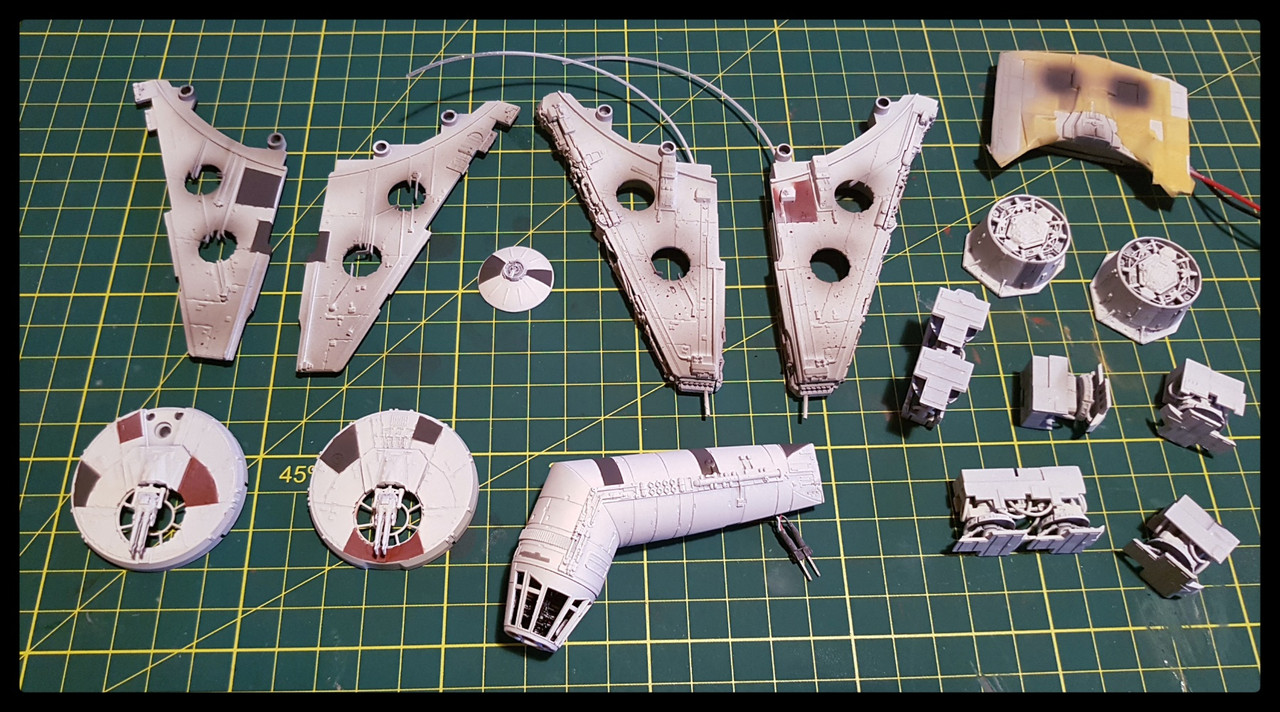
I knocked back the panel colours with a mist of base coat then applied a clear gloss over everything ready for weathering stages...
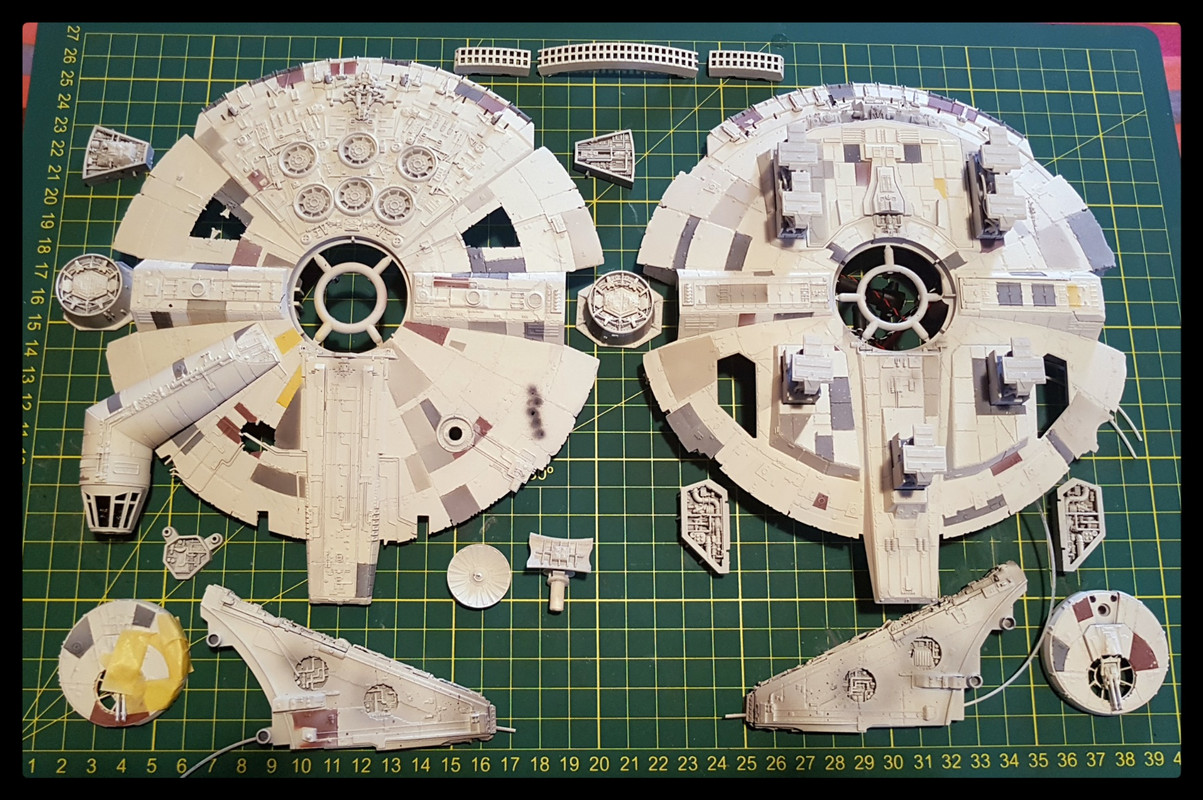
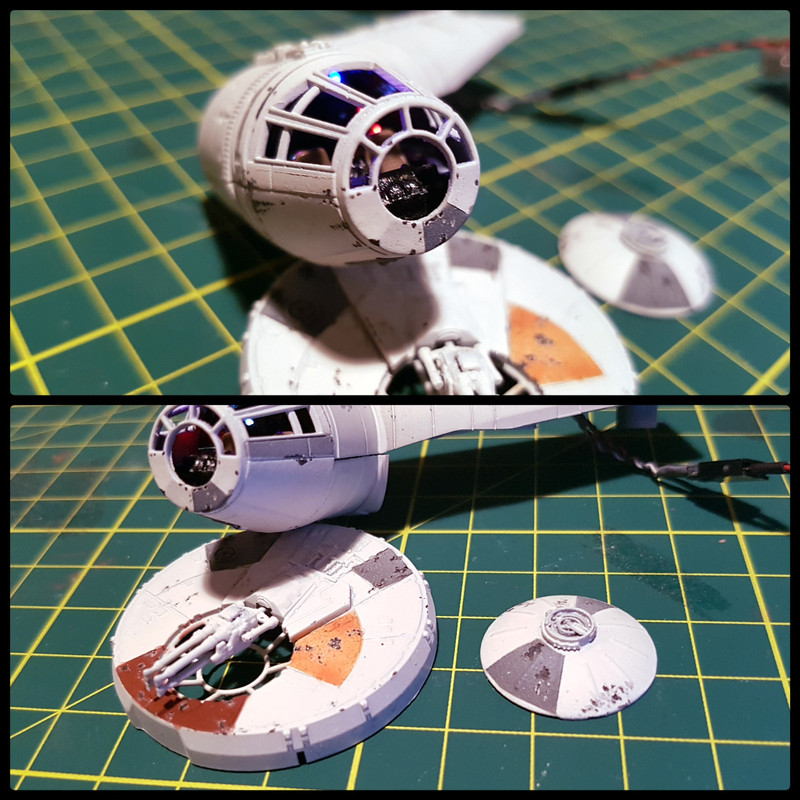
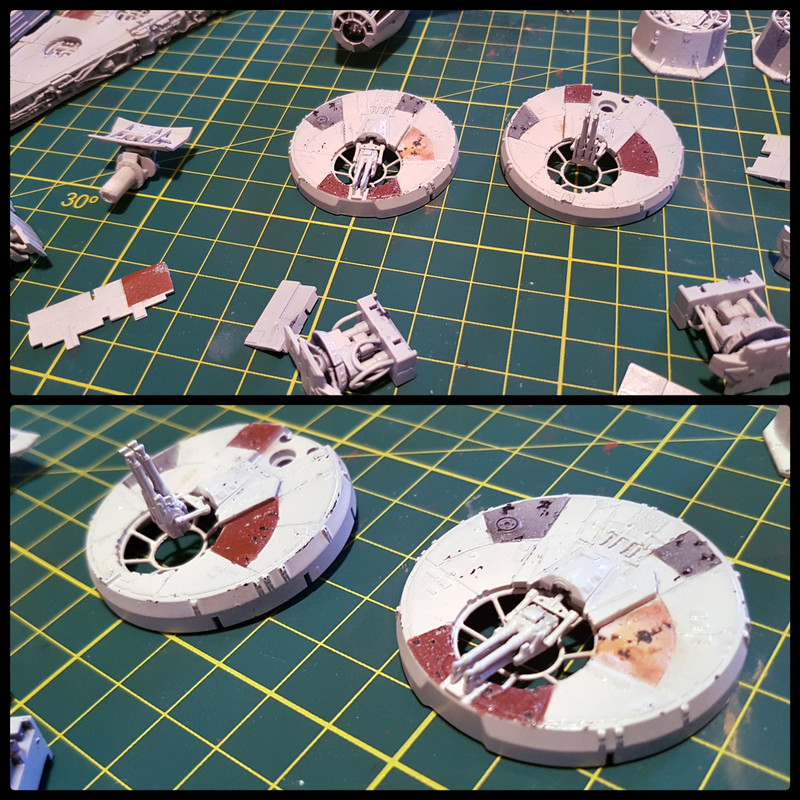
Added damage and more predominant weathering to certain areas of the kit...
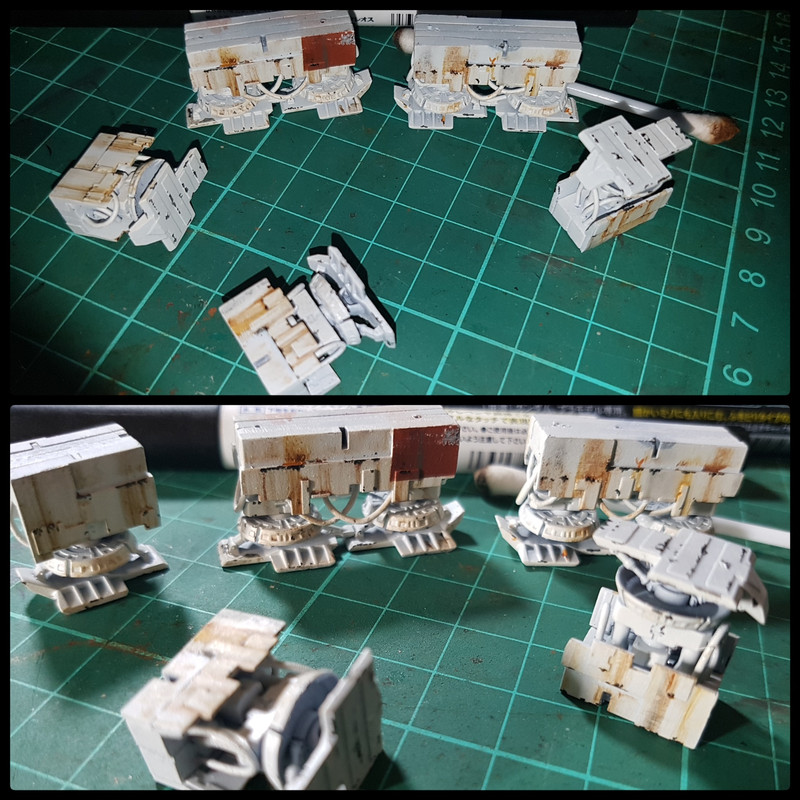
Started detailing the landing gear with rust and mig oils and also used a black Gundam marker to emulate chipping around the edges of the doors and under the feet...
More follows in next post...