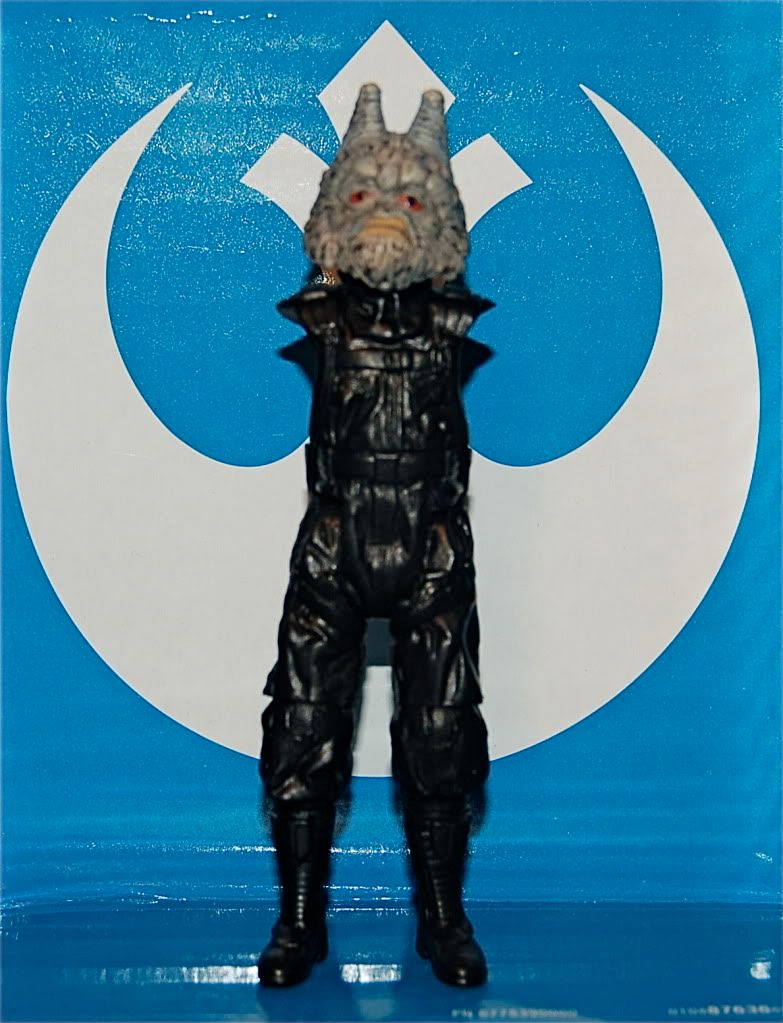
Today's update features a step by step process I go through to paint most of my figures. A few people have asked how I go about painting so I said the next custom I do I will take more pics and explane. The first thing I have to decide is do I want my figures to fit in with the Hasbro line or look better, like a painting or piece of art. This one is the later of the two. I decided I needed a maintenance person for my Rebel Base dio so he will get "the treatment." I start off by getting a condiment cup, adding 2 drops of water to enough paint to paint the figure 2 times. Then I painting everything black, 2 coats. I also did a black wash on the head while I was painting.

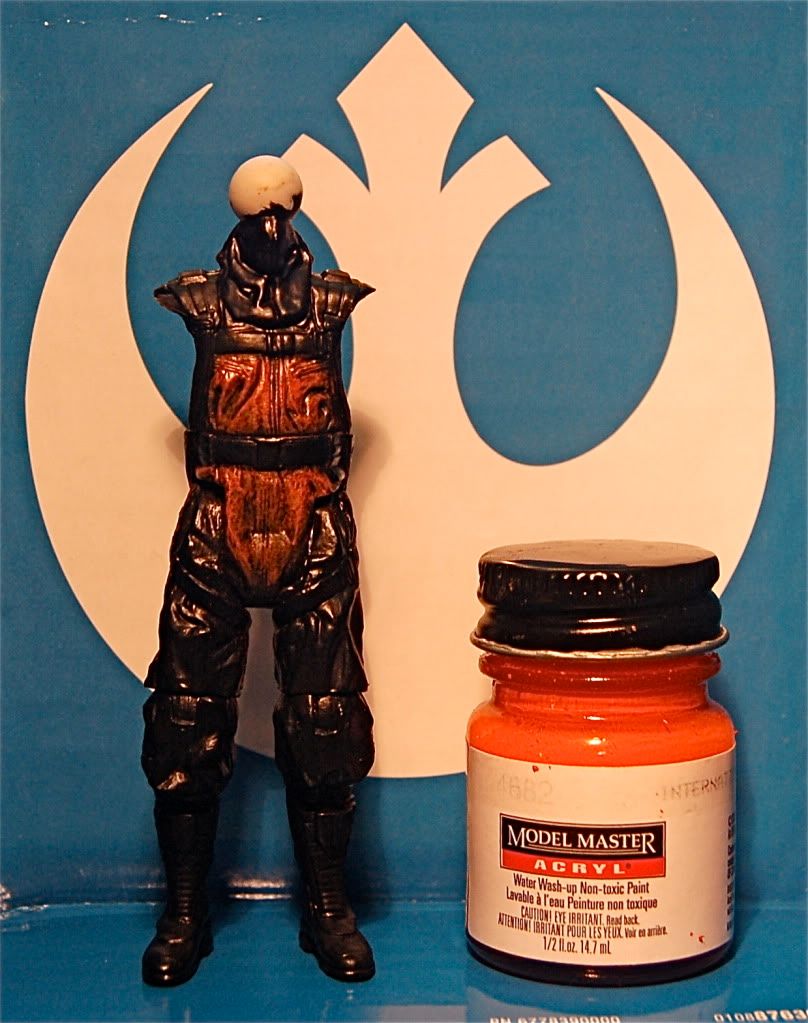
Then I choose my color, in this case it is Orange. I put a very small amount of paint on the brush and outline the raised sections of his garments. When the brush is out of paint I go to where I started and blend or brush the paint from the raised areas into the rest of the areas around it. It is almost like dry brushing but not really. I am working straight out of the bottle with this technique so no thinning. You want the paint to be thicker for this. I have also done the first coat of grey on the shoulder harness, the grey has been thinned with windex.

N0w I just move on and do this to the rest of the figure. I will come back and highlight some areas when the entire figure has been gone over like this one time. Second coat of grey has been done on shoulders using a small brush just hitting the raised pads not letting it get in the cracks so they keep the black outline.

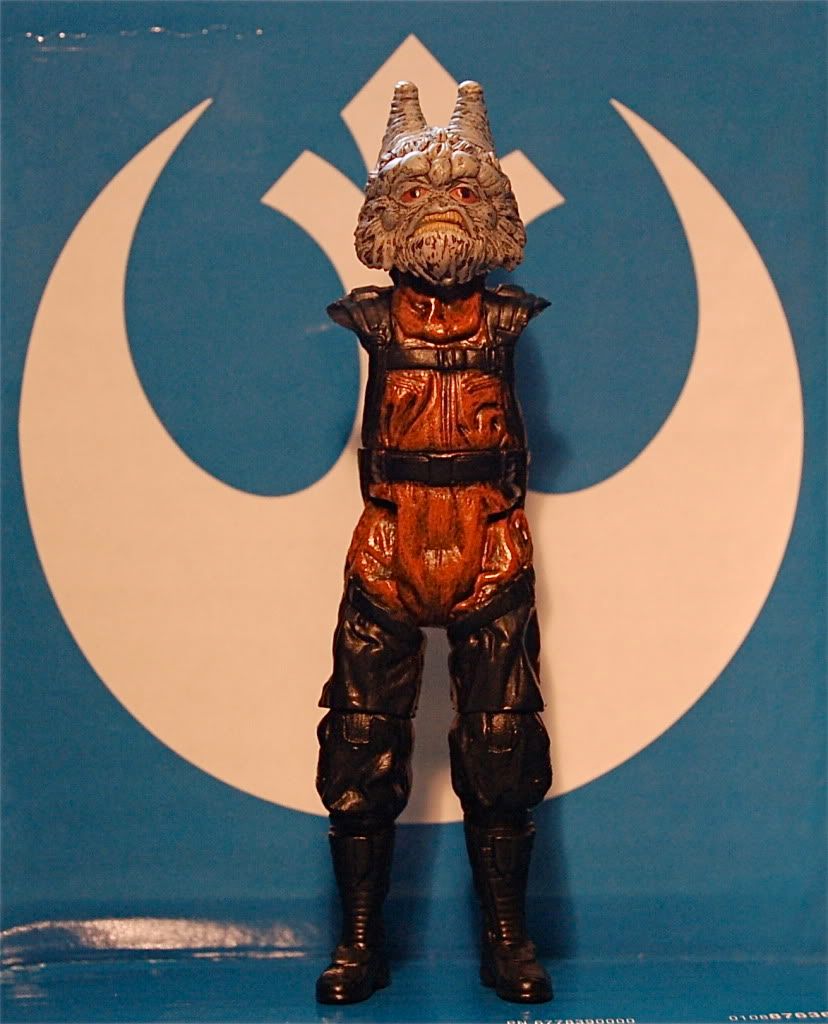
Now the legs and I have gone over the entire figure again very lightly. Then the second wash, let almost dry, then wipe off with my finger treatment of the head. I don't use a paper towel for this as it may soak some of the wash out of the cracks where I want to leave them, even though it is almost dry. Just the way that works for me.
