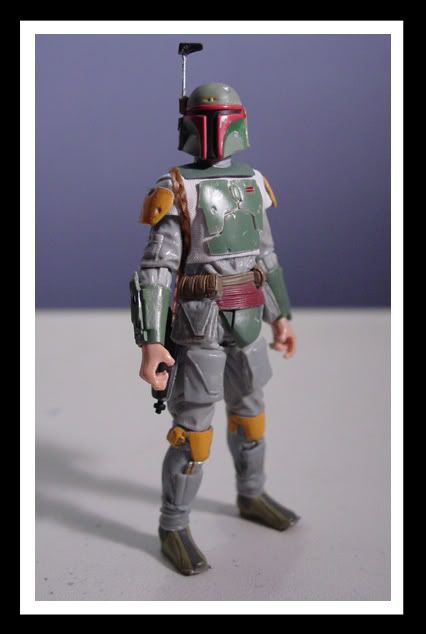
FINALIZING THE ARMORAlright, when last we saw custom Boba Fett, there were a few items that were awaiting attention on my “Still Pending” list. The first item on that list was to make all of Fett’s armor its final color.
That task is what I concentrated on this evening. However, as usual, what I estimated to be a quick operation took me all night:
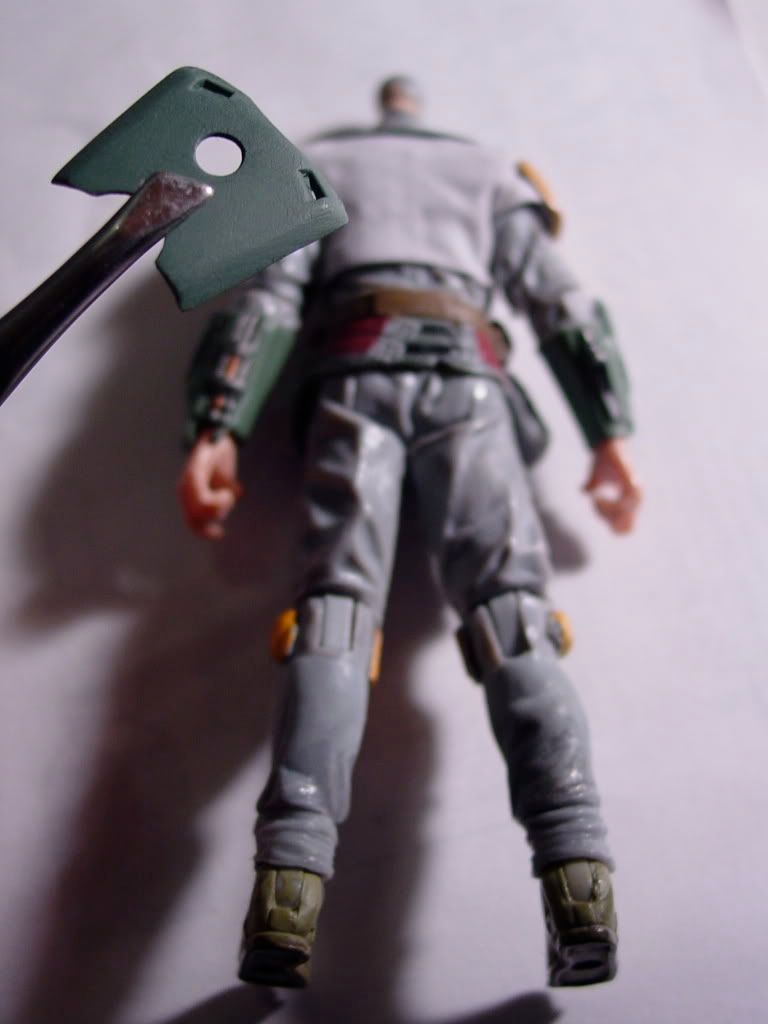
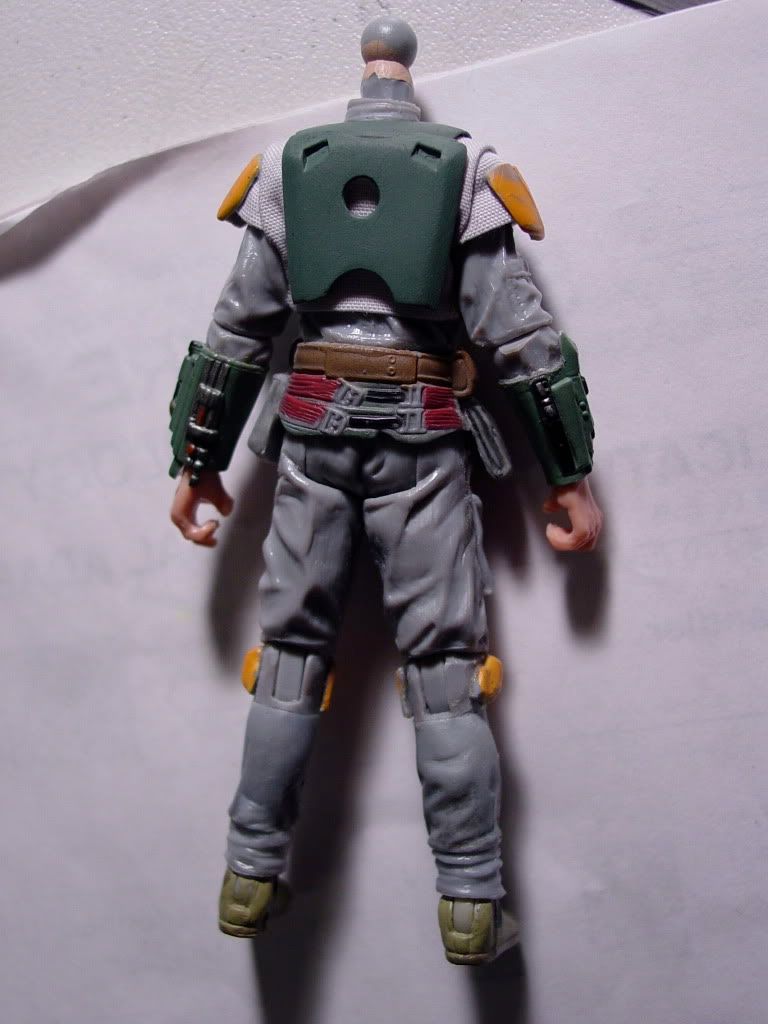
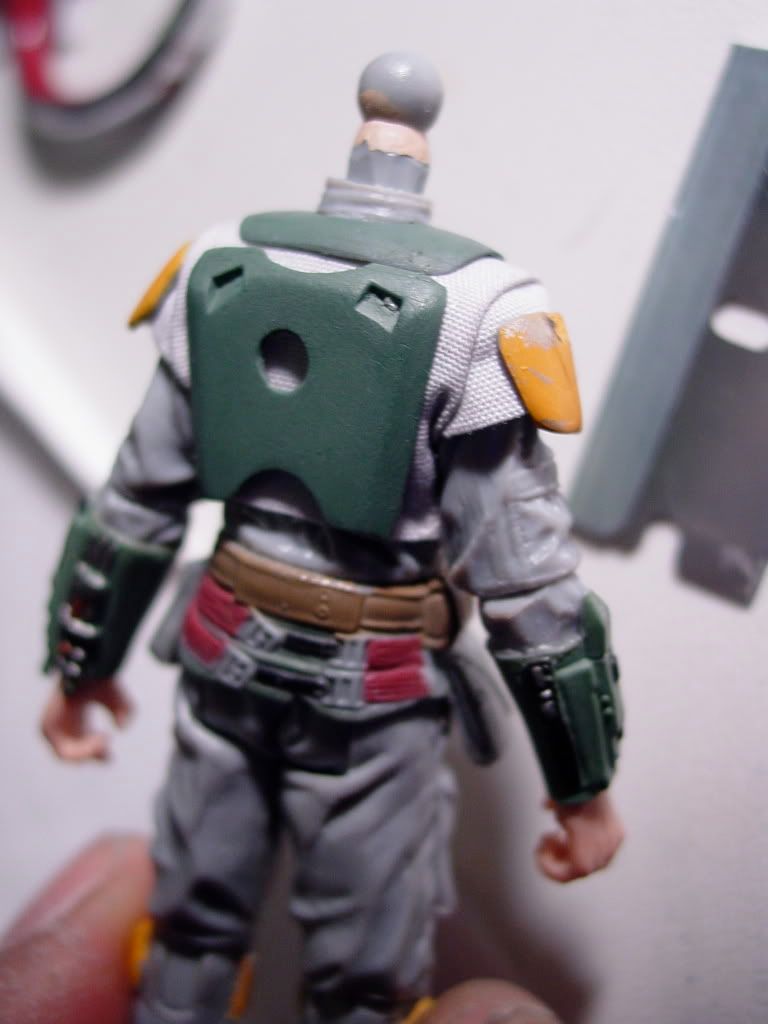
The collar armor, back armor plate (backpack mount), and crotch armor all needed their final paint job to match the torso armor plates (factory-painted at Hasbro).
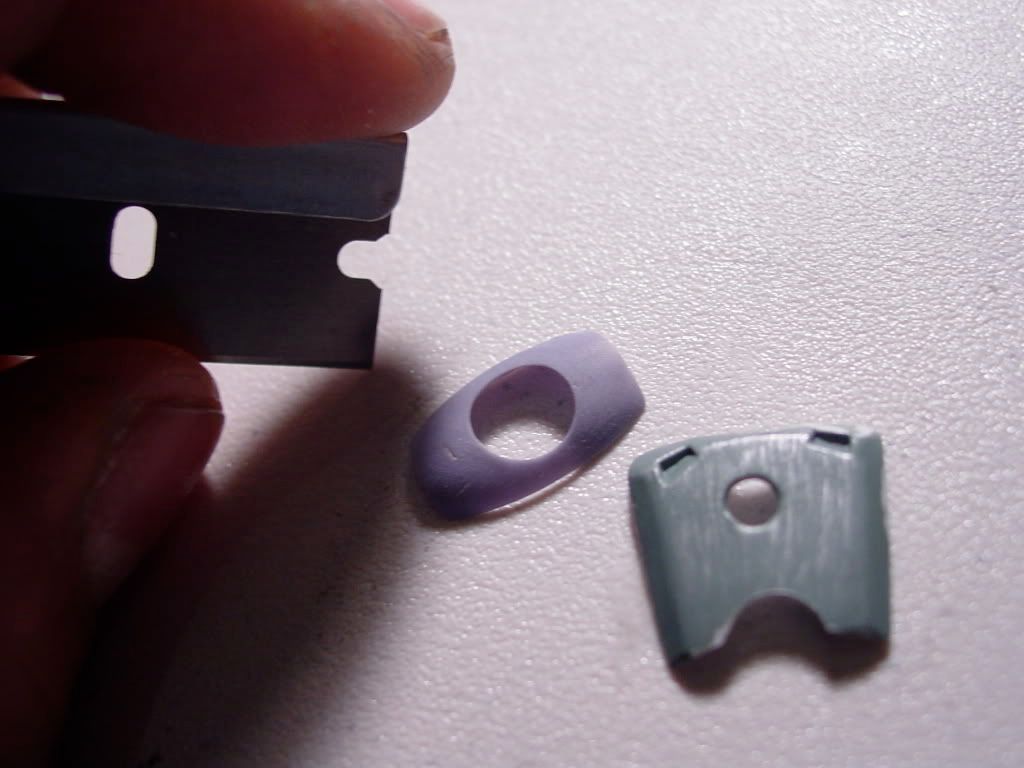
The collar and back armor pieces needed prep by having the original factory paint carefully sanded off by hand.
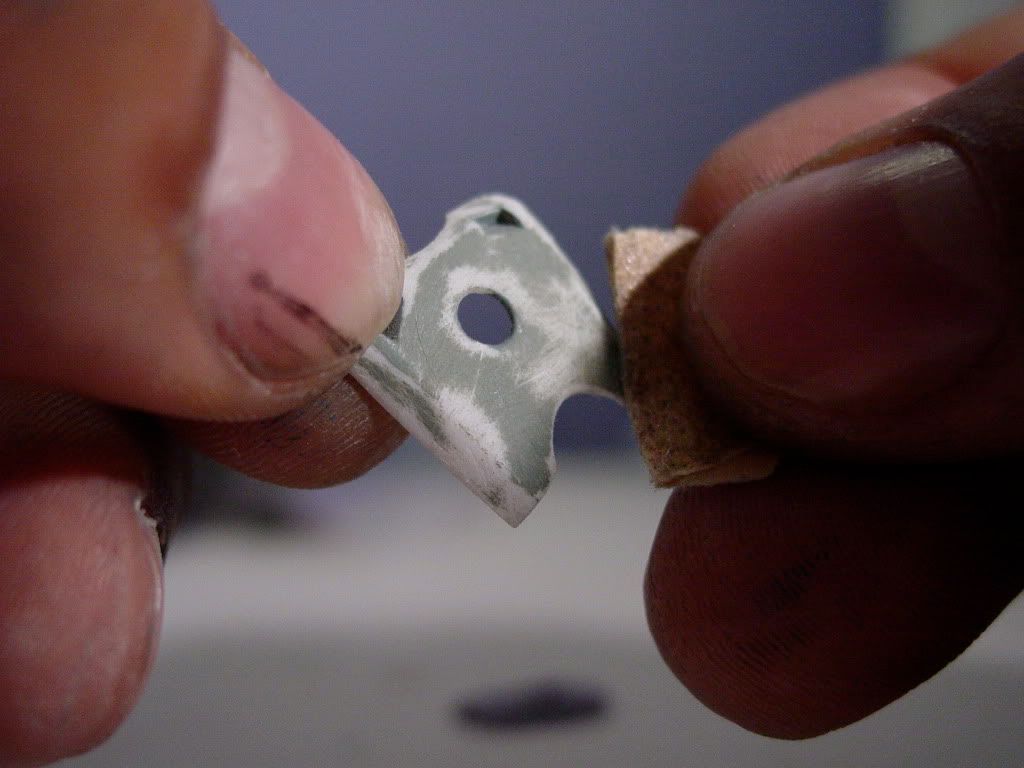
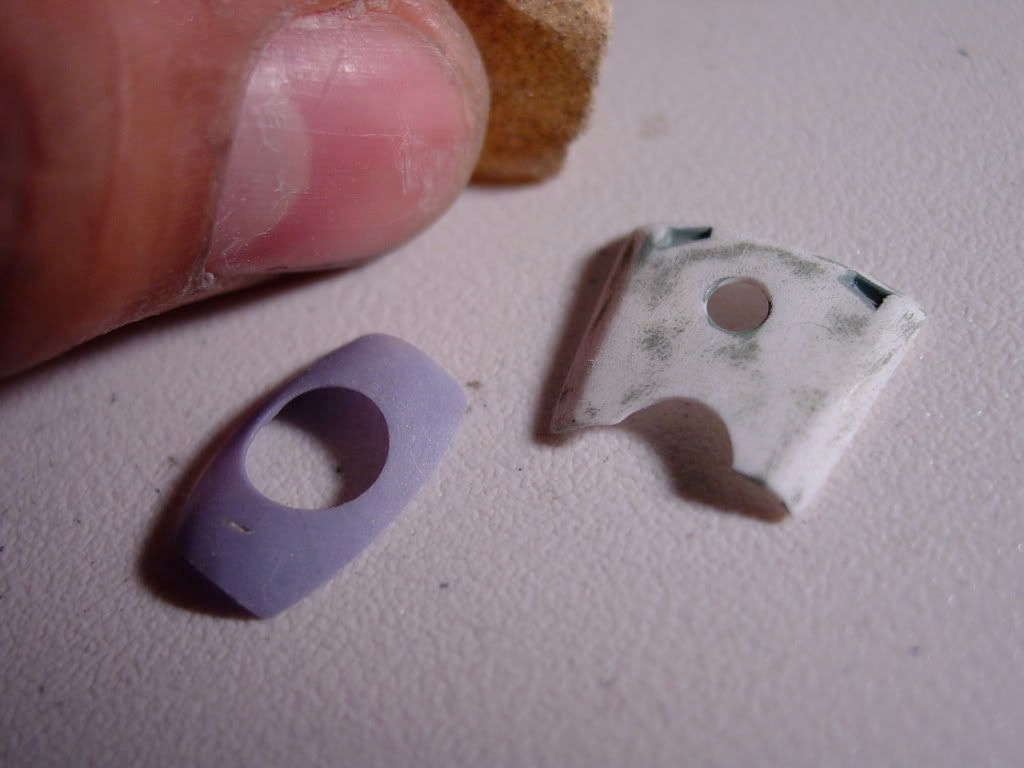
Next, I used the Hasbro painted torso armor pieces as color reference to mix the paint for the collar, back, and crotch armor.
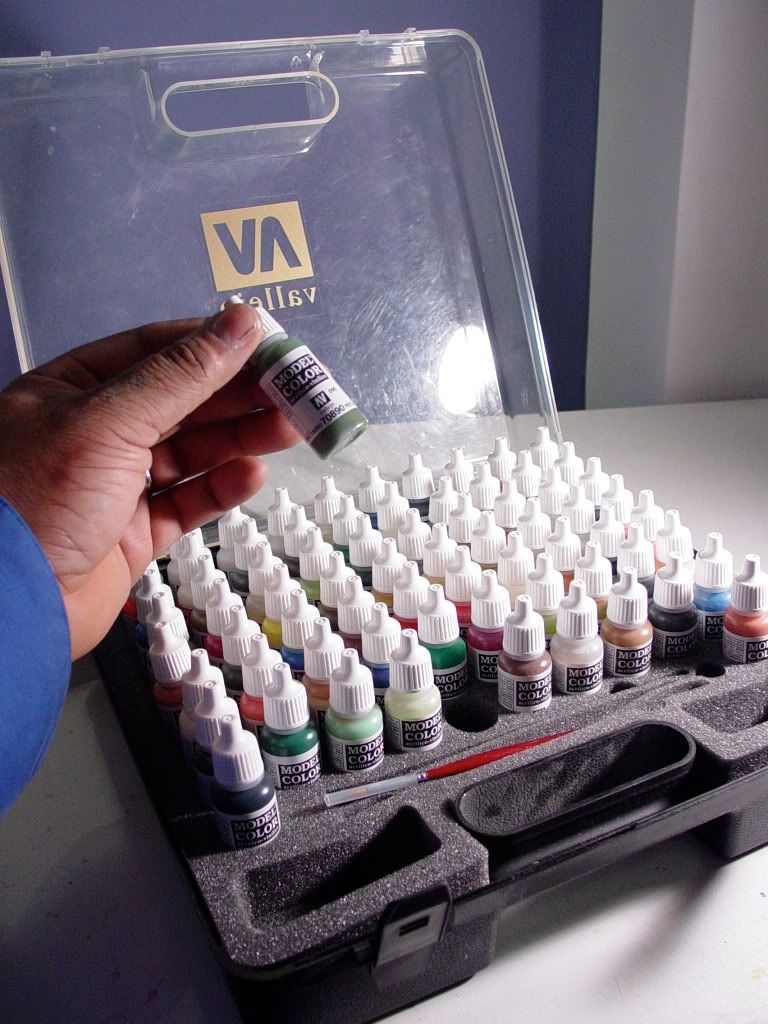
Using my Valejo hobby paint set, I was able to mix up a VERY, VERY close duplication of the flat green for Boba’s armor.
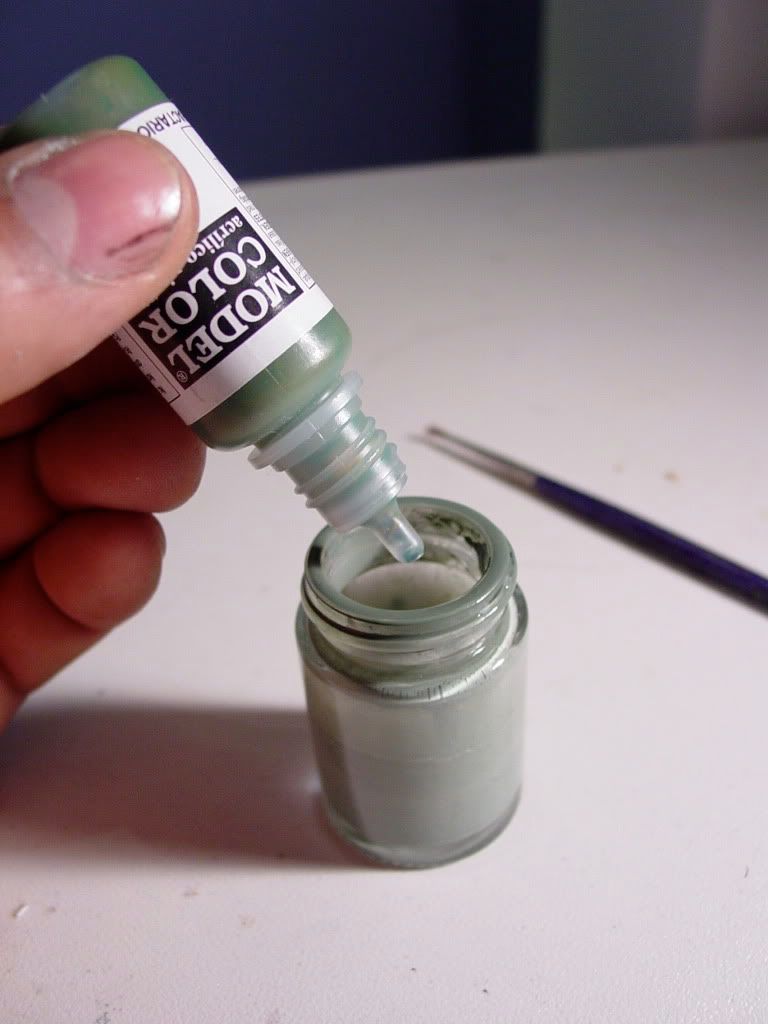
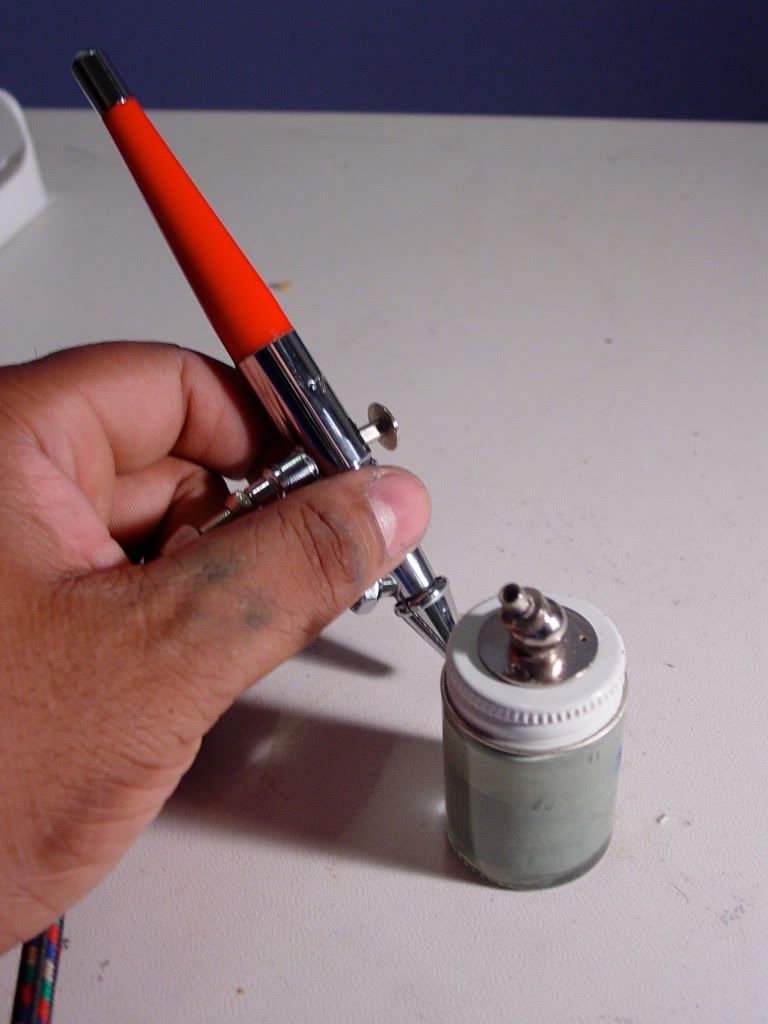
I loaded up my airbrush and went to work.
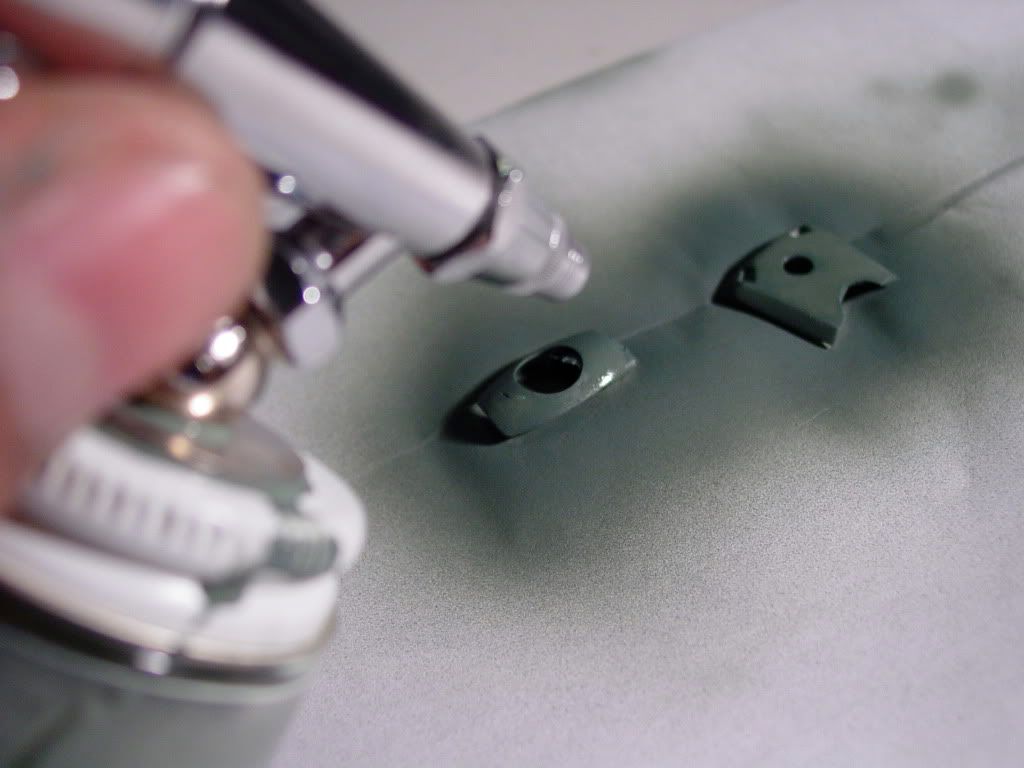
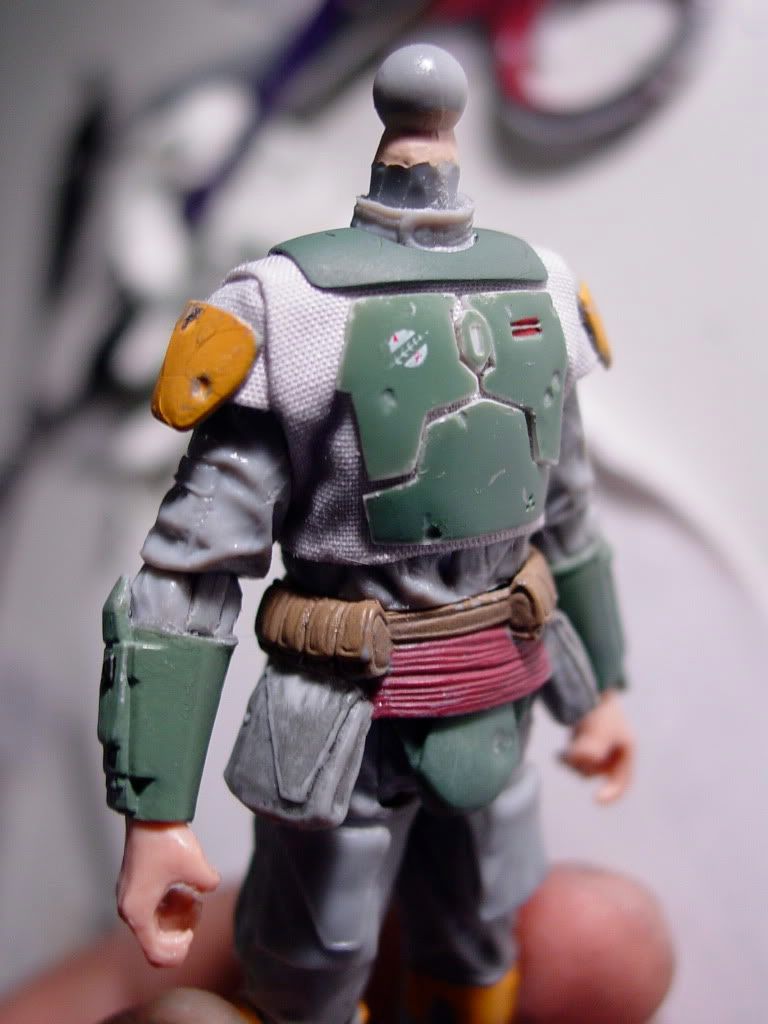
Once the newly painted armor pieces were dry, I placed them back onto the figure and checked their final color accuracy under a white light against the Hasbro factory painted torso armor pieces.
I drilled a tiny hole into the back of the collar armor to accommodate Boba’s side cape, and cut the fastening lead of the cape into a very fine point. I applied some glue, and then inserted the cape into the hole in the armor.
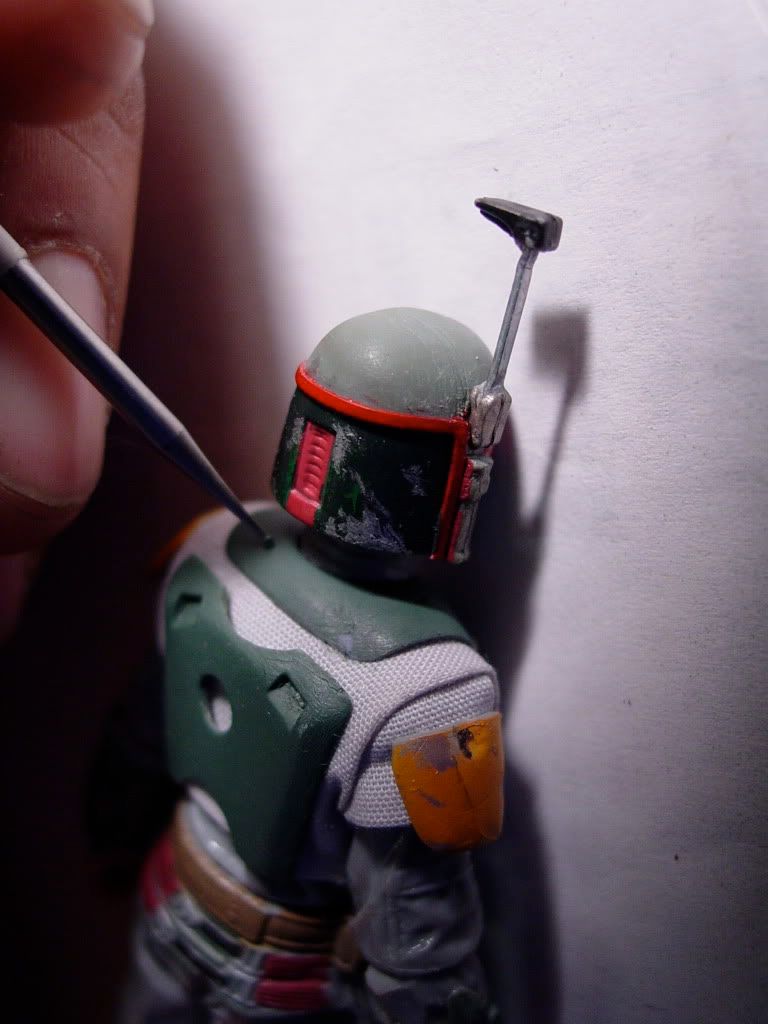
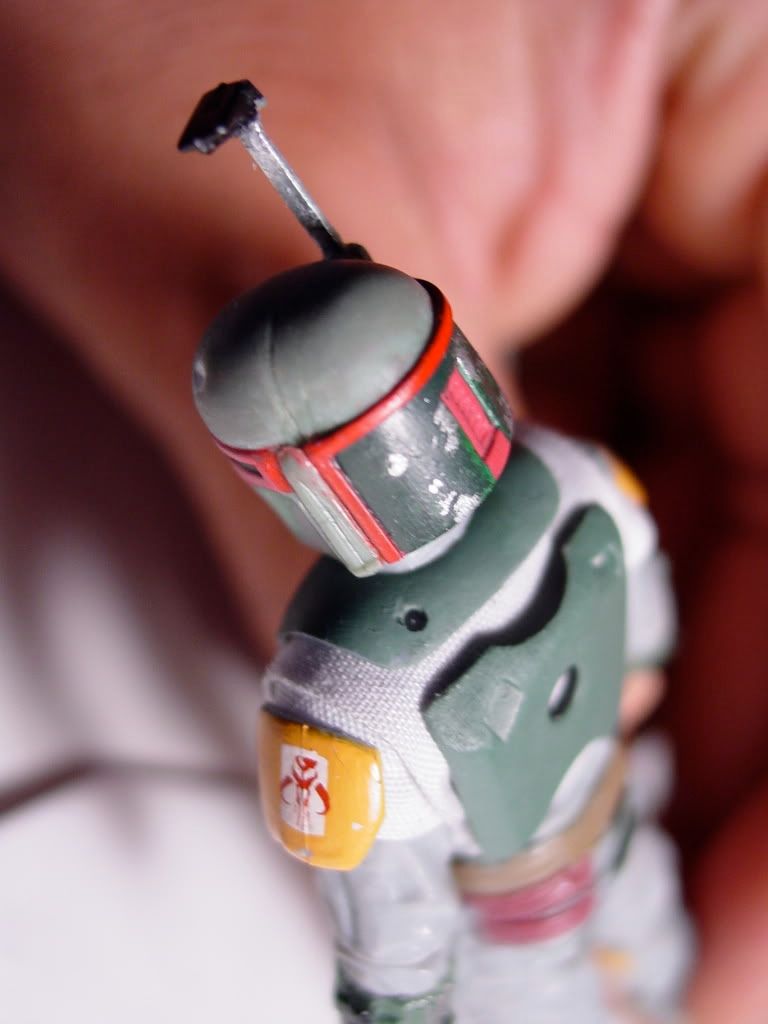
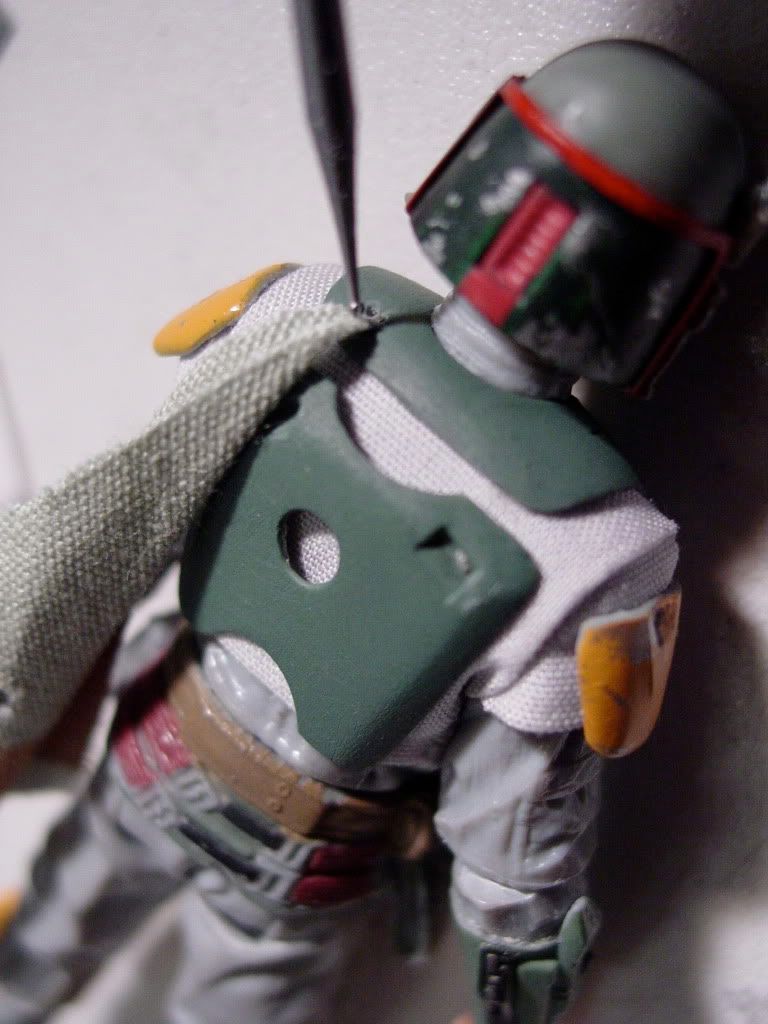
Another series of photos to check the color accuracy and quality of Boba’s new armor paint-job:
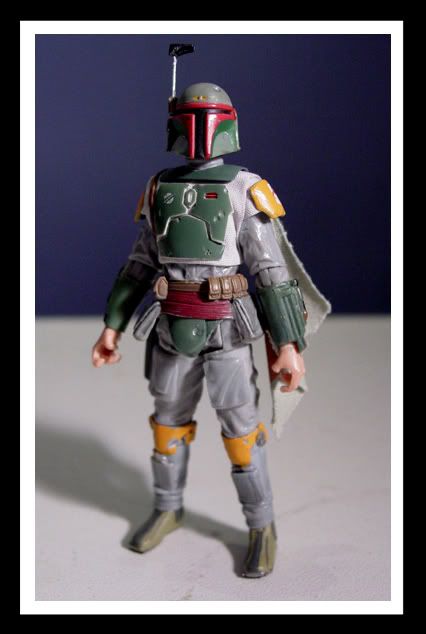
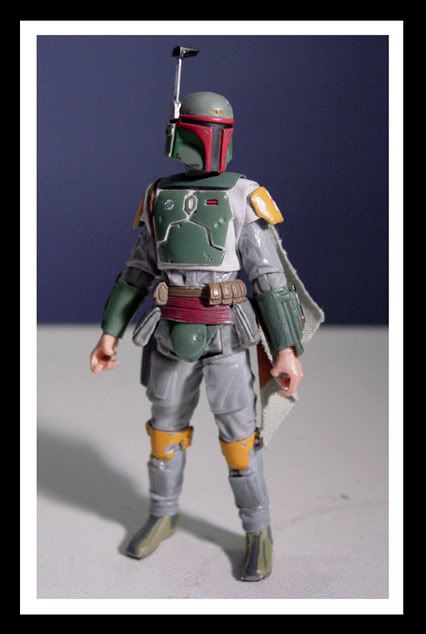
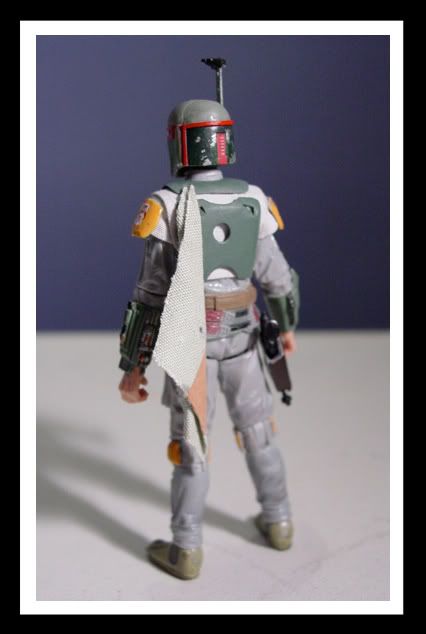
I love how this photo demonstrates the preservation of this figure’s slender build despite the addition of the soft-goods flak vest and the torso armor pieces.

